

When I was a kid, “practice your fractions” sounded exactly like what it was: extra work. But hand me a spoon and tell me I’m in charge of doubling the pancake recipe, and suddenly math feels like power.
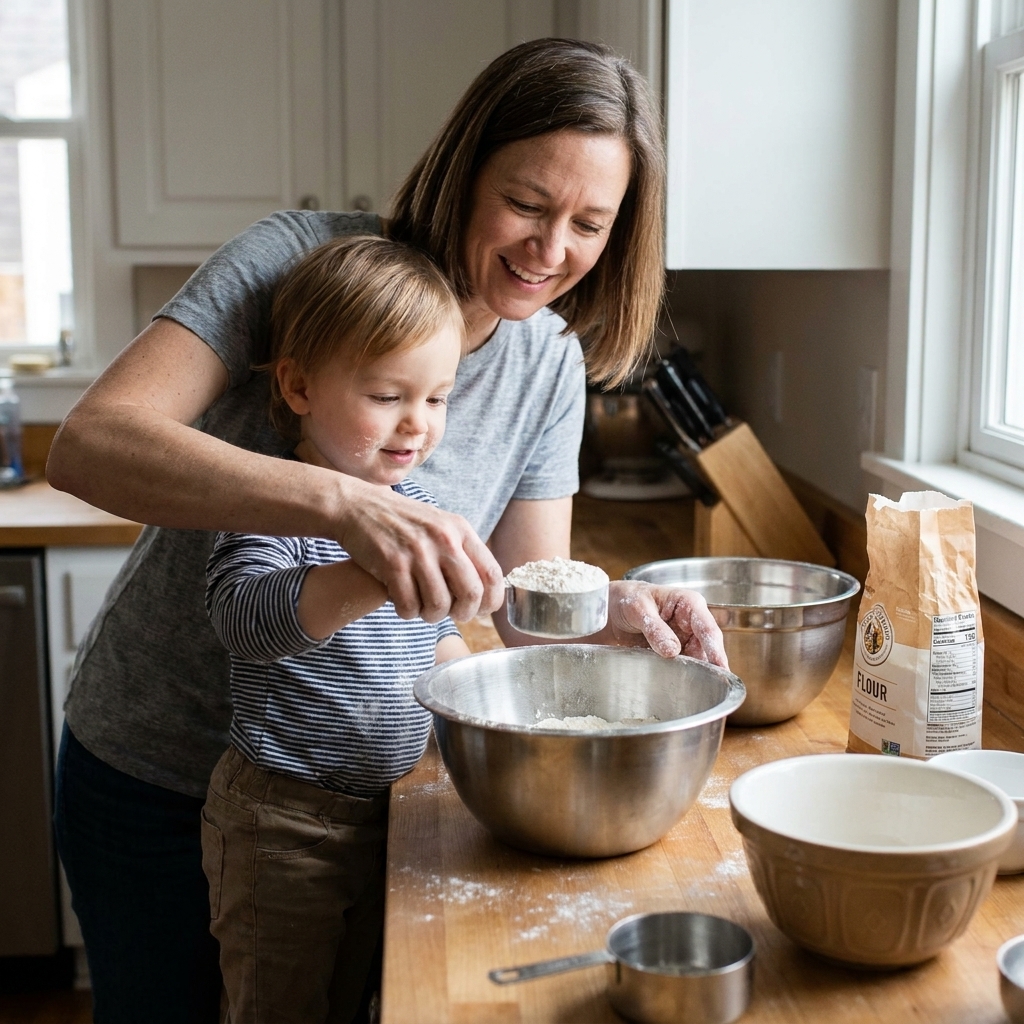
This is why I love weekend project-based learning through family cooking. You get a real outcome (food), built-in motivation (everyone is hungry), and a surprising number of school skills you can reinforce without turning your kitchen into a classroom.
Why cooking works as a weekend learning project
Project-based learning sticks when kids can answer three questions without you prompting them:
- What are we making? A clear goal they can visualize.
- What do I do next? Steps they can follow in order.
- How do I know it worked? The cake rises, the sauce thickens, the tortillas do not tear.
Cooking naturally checks all three. It also quietly supports different ways kids take in information and stay engaged, which is one reason it feels easier than worksheets. If you want more ideas in this same “learning without the fight” spirit, you can browse our Learning Activities for Kids guide.
Pick the right recipe
Not every recipe is equally “school-skill friendly.” Here is what I look for when I want fractions, science thinking, and reading comprehension to show up naturally.
A good learning recipe has:
- 6 to 10 steps (enough reading practice, not so much that attention melts).
- Measuring and scaling (fractions and multiplication).
- One visible transformation (chemistry): rising, thickening, melting, browning, or separating and mixing.
- A short rest or cook time (so you can do a quick reflection or mini clean-up challenge).
Easy winners
- Pancakes or muffins (fractions, leavening, reading sequence)
- Homemade pizza (ratios in dough, yeast, heat effects)
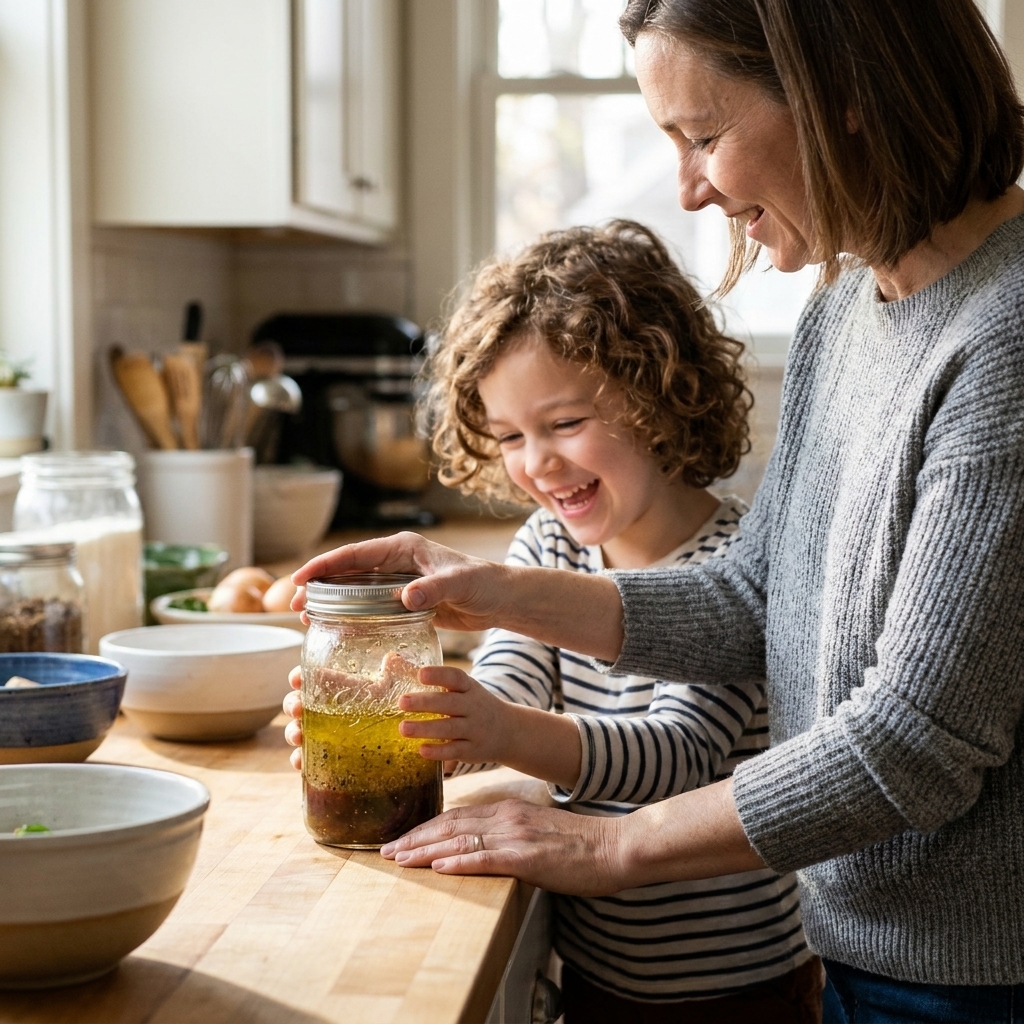
- Salad dressing (emulsions, measuring, descriptive language)
- Rice or pasta with sauce (timing, cause and effect, texture changes)
If your child is wiggly or loses focus mid-task, a short movement break is not a failure. It is smart pacing. I keep a few ideas bookmarked from these kinesthetic homework-break activities and use the same concept in the kitchen between steps.
Quick setup checklist
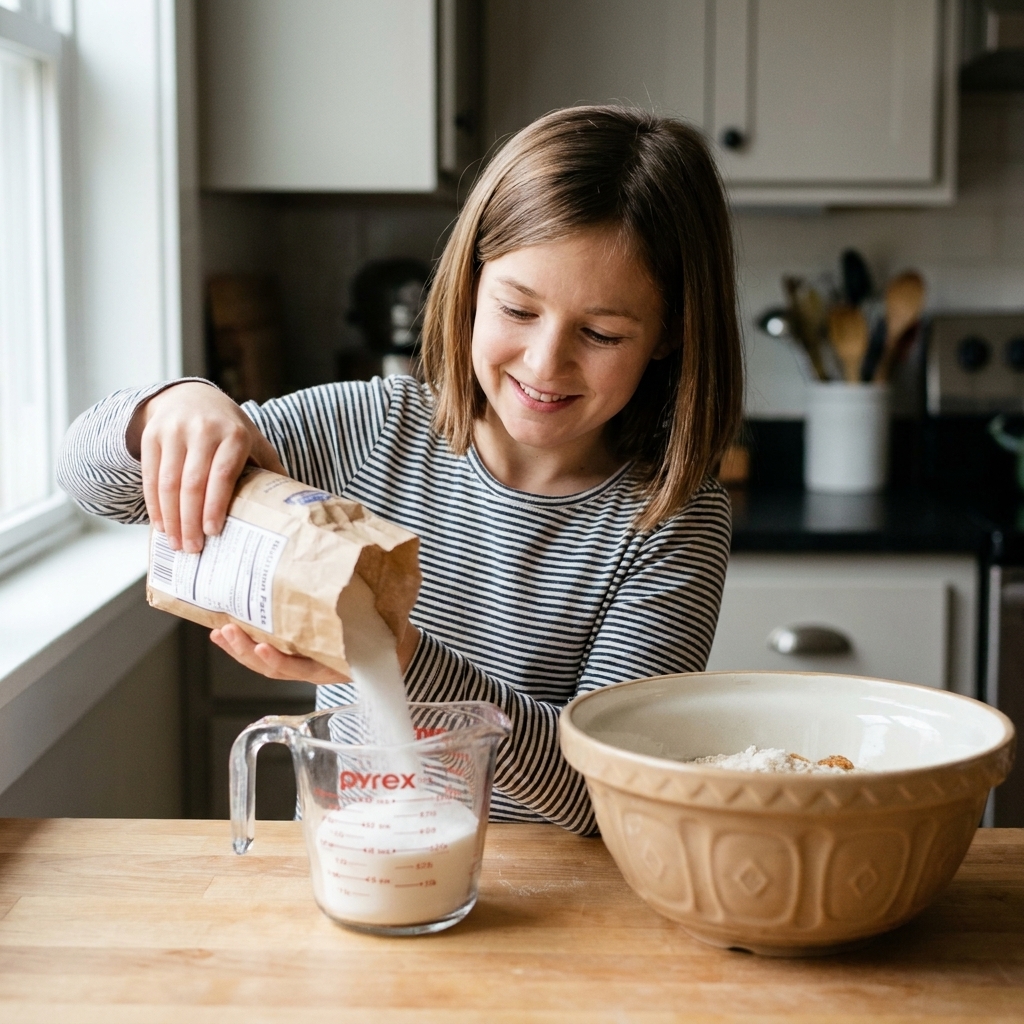
This is the part that keeps the whole thing from turning into a chaotic flour storm. I do a two-minute reset before I call my kid into the kitchen.
- Measuring tools: measuring cups and measuring spoons (real ones, not drawer spoons)
- Mixing: 1 to 2 bowls, whisk or spoon, spatula
- Timing: a timer (phone is fine)
- Clean-up: a towel, a “trash bowl” for wrappers and peels, and a spot for dirty tools
- Safety: hair tie, step stool if needed, and a clear rule about heat and sharp tools
Fractions in the kitchen
The trick is to give your child a real job that requires fraction thinking. You can be the safety monitor and the calm voice, but let them run the numbers.
Use “recipe math missions”
- Mission 1: Double or half the recipe. Ask: “We only have one egg. How can we make half a batch?”
- Mission 2: Build a measurement. Ask: “We need 3/4 cup. Can you make that using a 1/4 cup?”
- Mission 3: Fix an intentional mistake. Say: “Oops, I grabbed the 1/3 cup. How many 1/3 cups equal 1 cup?”
Quick fraction prompts that feel normal
- “Pour until it reaches the 1/2 line. What number is the next line up?”
- “If we need 1 and 1/2 cups total, how many half-cups is that?”
- “The recipe calls for 2 tablespoons. How many teaspoons is that using a measuring teaspoon?”
Naomi note from my own kitchen: If your child freezes, offer two choices instead of an open-ended question. Example: “Is it two 1/4 cups or three 1/4 cups?” They still think, but they are not stuck staring at the cupboard.
Simple kitchen chemistry
You do not need a lecture on molecules. You want one observable change and a few gentle questions that build scientific thinking: predict, observe, explain.
3 chemistry moments to look for
- Leavening (baking soda or baking powder): Batter puffs, bubbles form, the texture changes. Note: sometimes you will see bubbles as soon as the wet and dry ingredients meet, and sometimes the big change shows up with heat. Ask: “What did you notice right after we mixed it? What changed after it cooked?”
- Emulsions (oil plus vinegar, or a creamy dressing): It separates, then looks blended when you shake or whisk. Ask: “How long does it stay mixed? What happens if we stop?”
- Heat and browning: Toasting, roasting, or pan-browning changes smell, color, and flavor. Ask: “What clues tell you it is getting close?”
One helpful detail (without making it a lecture): Some mixtures separate no matter how hard you shake. Stable emulsions usually need something that helps them stay together, like mustard or egg yolk.
A 60-second science routine
- Predict: “What do you think will happen when we add the lemon to the milk?”
- Observe: “What do you notice right away?”
- Explain: “Why do you think it changed?”
If you want to keep it grounded in good habits, treat it like a mini learning cycle: do, notice, adjust, try again. That reflection loop is the entire point.
Reading comprehension is built in
Recipes are sneaky reading practice. They force kids to track order, interpret vocabulary, and connect text to action. The easiest way to pull out comprehension is to make your child the “head reader.”
Make them the recipe narrator
- They read the next step out loud.
- They point to the ingredient as it is used.
- They summarize in their own words: “So first we whisk, then we fold, then we rest it.”
Teach recipe vocabulary in context
Instead of defining words upfront, do it as they appear:
- Fold: demonstrate gently turning batter over with a spatula.
- Simmer: show small bubbles versus a rolling boil.
- Pinch: physically show what “a pinch of salt” means.
- Preheat: point out that waiting now prevents uneven cooking later.
Try “read ahead” as a comprehension check
Before you start, ask your child to skim the whole recipe and answer:
- “What do we do first?”
- “What step looks hardest?”
- “What tools do we need?”
- “When do we use the oven or stove?”
This is the same skill they use later for word problems and textbook sections: preview, plan, then execute.
Ages and jobs
If you match the job to the kid, you get learning without the power struggle. Here is a simple way to think about it.
- Ages 3 to 5: pour pre-measured ingredients, sort tools, count scoops, name shapes and textures, stir with help.
- Ages 6 to 8: measure with 1/2 and 1/4 cups, set the timer, read one step at a time, answer “what happens next?”
- Ages 9 to 11: half or double a recipe, build 3/4 from 1/4, estimate cook time, summarize steps in their own words.
- Ages 12+: plan the workflow, scale recipes, troubleshoot, and write a quick “next time” note.
You handle heat and sharp tools. They handle measuring, narration, and checking the plan.
A simple weekend flow
This is the structure that keeps it fun and prevents the “we started something and now everyone is cranky” spiral.
1) Set the roles (2 minutes)
- Child: head reader, measurer, checker
- Adult: heat and sharp tools, timekeeper, clean-as-you-go coach
2) Preview the recipe (5 minutes)
- Skim steps
- Flag tricky words (even just out loud)
- Make one prediction: “What will change the most, the smell, the texture, or the color?”
3) Cook with micro-pauses (30 to 60 minutes)
Every few steps, pause for one quick prompt:
- Math: “We need half. How do we measure it?”
- Reading: “What does the next step tell us to do?”
- Science: “What changed when we stirred?”
4) Taste and reflect (5 minutes)
Keep it light. Two questions are enough:
- “What step mattered the most?”
- “If we made it again, what would you change?”
Mix up the modalities
I am big on “use what already works for your kid.” These are small, practical tweaks that let you lean into their preferences without pretending everyone has one fixed “learning style.”
For kids who like visuals
- Put ingredients in a left-to-right line in the order they will be used.
- Use a clear measuring cup so the lines are easy to see.
- Let them check off steps on a sticky note.
If your child loves seeing the plan at a glance, you might also like a visual homework board kids will actually use. The same idea works for weekend projects.
For kids who like listening and talking
- Have them read steps out loud and do call-and-response.
- Use rhythm for fractions: “one half, one half makes one.”
- Let them explain the process while you stir.
For kids who need movement
- Give them the jobs with motion: kneading, whisking, pouring, setting the timer.
- Build in a 60-second movement reset between steps.
- Let them do safe chopping with a child-safe knife and close supervision, if appropriate.
For kids who like reading and writing
- Have them rewrite the recipe in their own words as a “kid version.”
- Let them keep a tiny cooking log: “Today we learned that…”
- Ask them to list three new words from the recipe.
Safety and sanity
Cooking together is wonderful, but it is still heat, knives, and spilled flour. A few simple rules keep it calm.
- Choose one new skill per weekend. New recipe plus new tool plus new math concept is too much.
- Prep your environment, not a perfect lesson. Clear the counter, set out tools, then let learning happen.
- Use the “two yeses” rule for risk. If you and your child both feel confident, try it. If either of you says no, choose a safer job.
- Keep a backup snack. Hungry kids do not do fractions. I learned that the hard way.
Quick ideas to repeat all month
Repetition is where learning sticks, but kids hate repetition that feels like repetition. Here are low-effort variations.
- Week 1: Make pancakes, focus on halving and doubling.
- Week 2: Make salad dressing, focus on mixing and separating (emulsion).
- Week 3: Make muffins, focus on reading order and vocabulary like “fold” and “preheat.”
- Week 4: Make homemade pizza, focus on ratios (water to flour) and timing.
Want to turn this into a bigger project? Keep a family recipe notebook where your child rates each recipe and writes one change for next time. It becomes their personal learning record, and it is surprisingly motivating.
FAQ
What age is this best for?
You can do a version of this with preschoolers (sorting, counting, vocabulary) and with upper elementary kids (fractions, conversions, more independent reading). The key is matching the job to the child. You handle heat, they handle measuring and narration.
My child hates reading. Will this still work?
Yes. Start with just one step at a time: they read the next line only. You can also alternate: you read one step, they read the next. The goal is to build confidence, not prove a point.
How do I keep it from turning into a power struggle?
Give your child real ownership (a role that matters), keep prompts short, and stop while it is still going well. I would rather do 30 calm minutes every weekend than force a two-hour “perfect” cooking lesson once.