

The fastest way to turn homework into a daily argument is to keep it invisible. A worksheet buried in a backpack. A reading log that only appears at bedtime. A mental list your child is expected to remember while their brain is busy being, well, a kid.
I learned this the hard way when I tried to “just remind” a younger student every afternoon. It worked for about three days, and then we were right back to last-minute panic. The fix was not more reminders. It was putting the plan where their eyes could land on it, over and over, so it could carry some of the load for me.
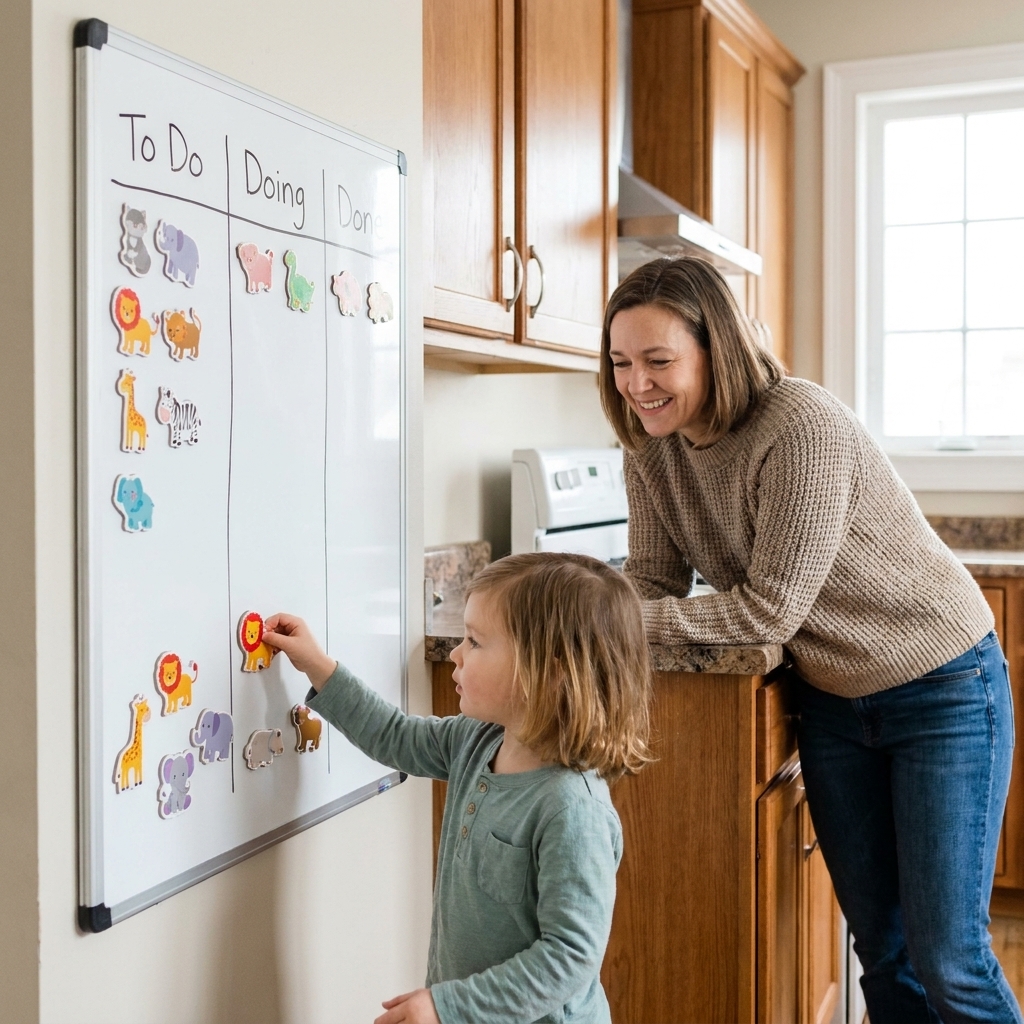
This guide walks you through building a simple visual homework board using magnets, colors, and pictograms so younger learners can see what is happening next, what is done, and what still needs attention.
Why this works
For many kids, “remembering homework” is not a character flaw. It is an executive function load: holding steps in mind, switching tasks, estimating time, and starting even when they do not feel like it.
A visual board can help because it:
- Makes the invisible visible. The plan is not in an adult’s head. It is on the wall.
- Reduces verbal instructions. Fewer spoken steps means fewer chances to miss or mishear.
- Creates a clear finish line. Done is a place on the board, not an argument.
- Builds independence gradually. The board becomes the reminder more often, not you.
If your child responds strongly to visual cues, you will probably also like the logic behind color cues in color-coded study schedules. We are basically shrinking that idea to kid size.
Materials
You do not need a Pinterest-level setup. You need something you can maintain on a tired Tuesday.
Choose your board surface
- Magnetic whiteboard (best all-around)
- Fridge surface (works if you have enough space)
- Cookie sheet mounted or propped (surprisingly good budget option)
- Metal file folder or locker board for small spaces
Magnet options
- Blank round magnets you can draw on with permanent marker
- Magnetic tiles (good for bigger pictograms)
- Magnetic clips if you want to attach small papers
Color system supplies
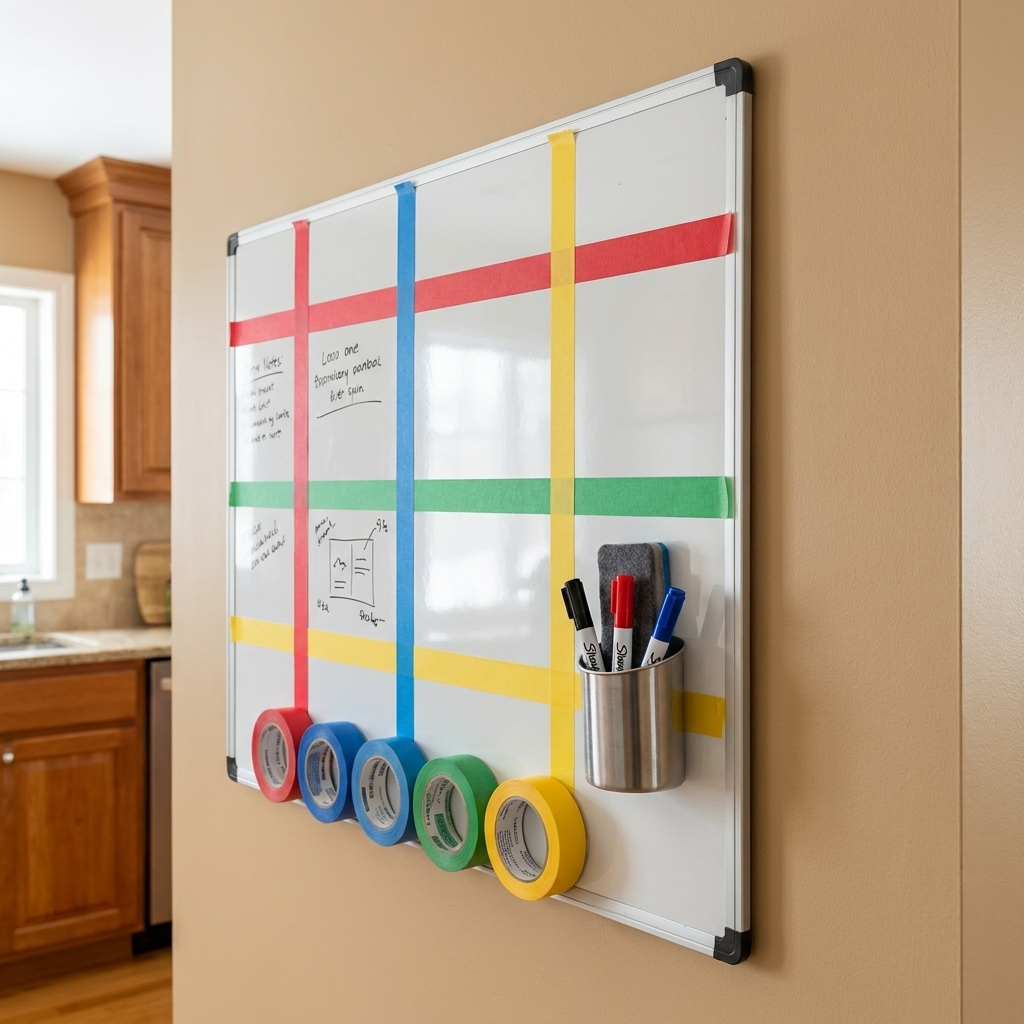
- 3 to 5 colors of washi tape or electrical tape
- Dry erase markers that match your tape colors
- Optional: sticky dots for extra color coding on worksheets
Pictogram supplies
- Index cards cut into small rectangles (if you want to swap icons often)
- A thick black marker for simple drawings
- Optional: small sticker set (animals, shapes) for non-readers
Step 1: Pick the right spot
This matters more than perfect design. The board should live where your child already pauses daily.
- Best spots: kitchen wall, near the snack area, by the backpack hook, next to the front door, or beside the dining table
- Avoid: bedrooms (out of sight), hallways you rush through, or anywhere you have to “go check the board”
If the board is not naturally in their path, it turns back into an adult reminder system.
Step 2: Use 3 columns
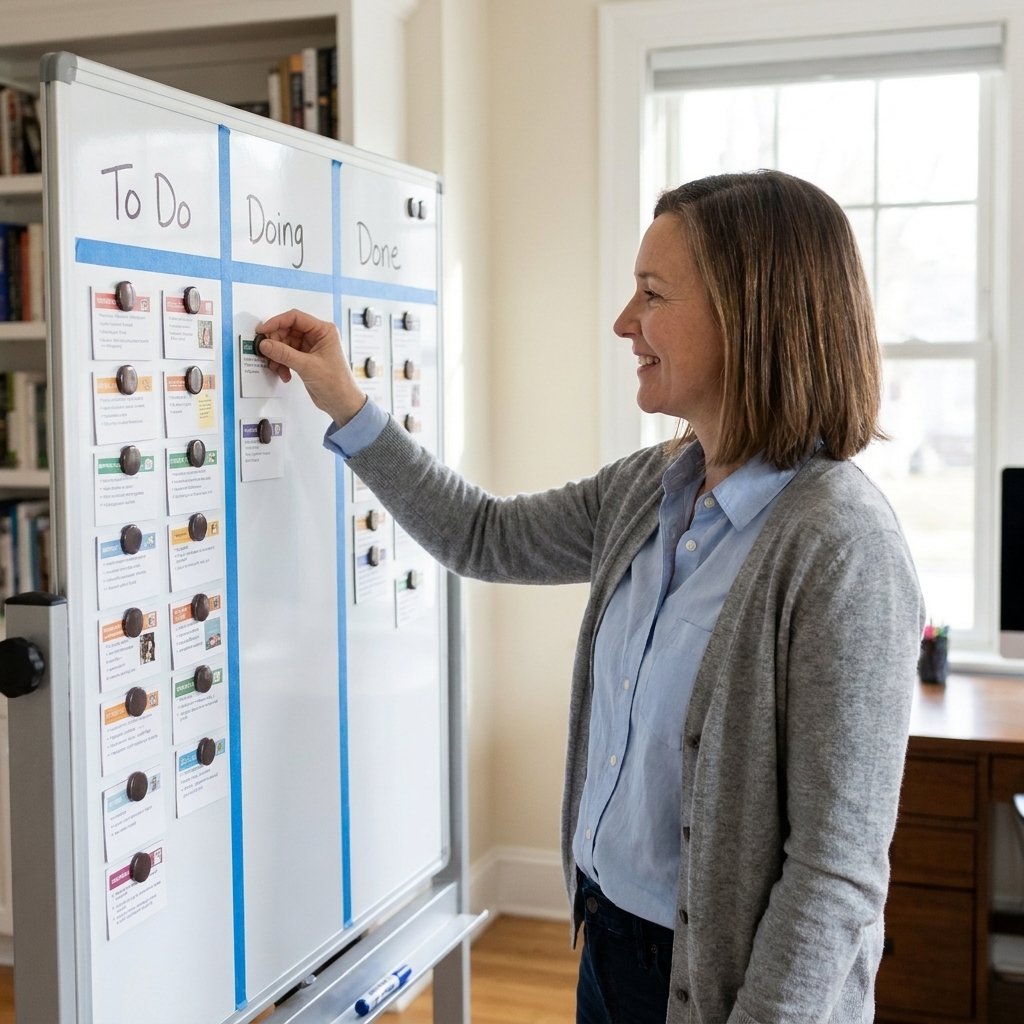
Kids follow boards they can understand in two seconds. My go-to is:
- To Do
- Doing
- Done
Use colored tape to create three vertical columns. Label the top with simple words or icons. If your child is not reading yet, use:
- To Do: an empty square
- Doing: a little hand icon
- Done: a checkmark
Keep everything large enough to see from a few feet away.
Step 3: Make task magnets
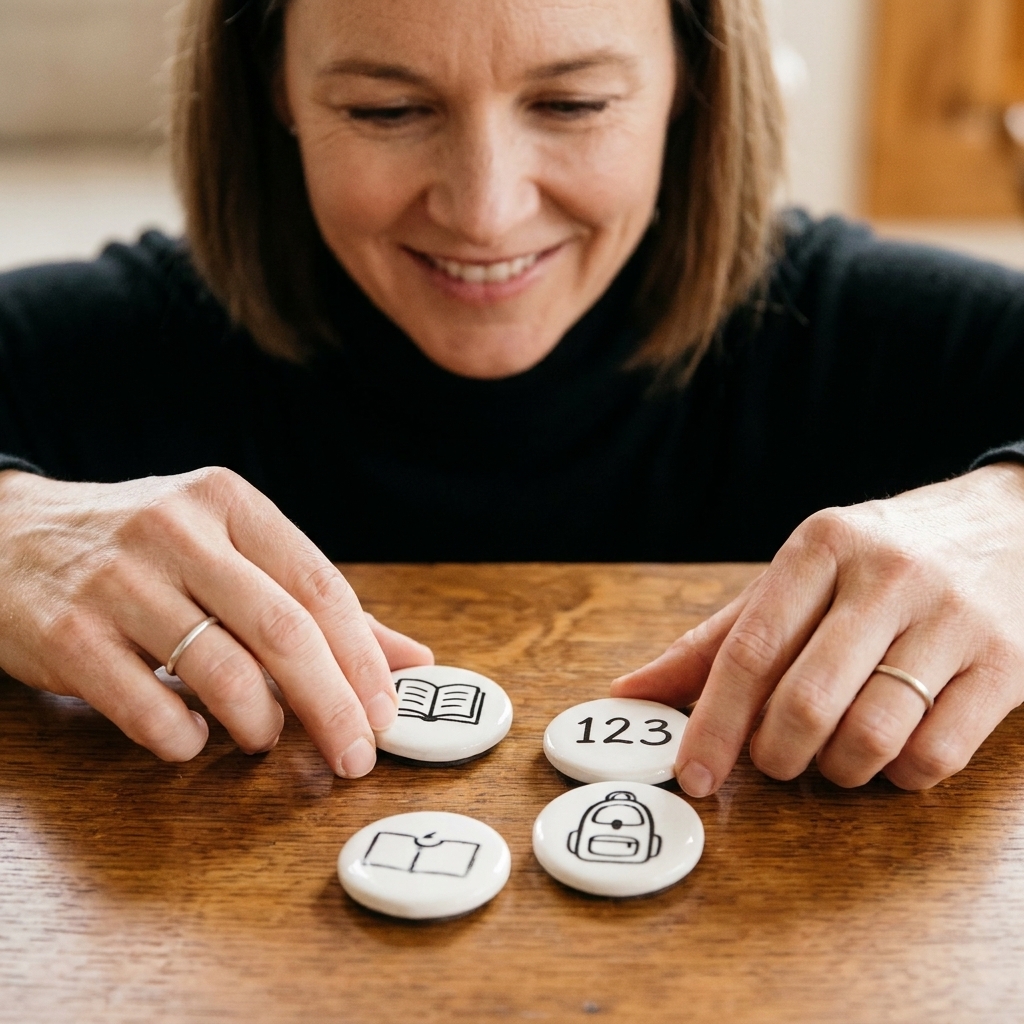
Pictograms are the secret sauce for younger kids. They remove the reading barrier and reduce debates about what “counts.” For example, one magnet might be a simple book icon for reading, and another might be a paper icon for “worksheet.”
Start with 8 to 12 core tasks
Pick the homework and after-school routines you repeat most often. Examples:
- Read (book icon)
- Math (number icon)
- Spelling (ABC icon)
- Worksheet (paper icon)
- Project (scissors icon)
- Study for quiz (star icon)
- Pack backpack (backpack icon)
- Bring folder (folder icon)
- Instrument practice (music note icon)
- Chores (broom icon)
Make each magnet distinct
- One icon per magnet. No tiny scenes.
- Use thick lines. It should be recognizable at a glance.
- Use color as a category cue. More on that next.
Add a “Help needed” magnet
This one can prevent a lot of spirals. Make a magnet with a simple question mark icon. Teach your child: if they get stuck, they move the task magnet into “Doing” and add the question mark magnet next to it.
Try agreeing on a short “try first” window (often 2 to 3 minutes) before they use it. You can adjust that window based on age and frustration tolerance.
Step 4: Add a color code
Limit yourself to 3 to 5 colors. Too many colors turns into noise.
A kid-friendly system
- Green: reading and language
- Blue: math and logic
- Orange: projects and hands-on work
- Purple: studying and review
- Red: deadlines or must-return items (use sparingly)
Put a small colored dot on each magnet, or draw the icon in that color.
If you want the longer explanation of how consistent color cues can reduce friction and make the next step easier to spot, I broke it down in this color-coding guide.
Step 5: Add a sequence row
Many kids do better when they can feel the sequence of the afternoon, not the exact minutes. Add a small row at the bottom labeled:
- Before snack
- After snack
- After dinner
Then place task magnets under the right time window.
This can do two helpful things:
- It reduces the “all homework at 8:30 pm” situation.
- It gives you a natural boundary for breaks.
If breaks are a constant struggle, you may also like strategic study breaks for how to make pauses refreshing instead of derailing.
Step 6: Do a daily reset
The board only works if it gets updated. The goal is not a perfect plan. The goal is a repeatable rhythm.
After school reset (3 minutes)
- Backpack empty moment: one adult, one child, same spot every day.
- Sort papers fast: “Do today” and “Return to school.”
- Build the To Do column together: your child places the magnets.
- Circle one priority: choose the first task only.
Keep it light. If your child is wiggly, let them stand or bounce while you do the quick sort.
End-of-homework reset (1 minute)
- Move remaining tasks to tomorrow if needed.
- Put all finished magnets into “Done.”
- Pack the backpack while the “pack” magnet is in Doing.
Get buy-in
Kids follow boards they feel they own. Here is how I build that ownership quickly.
- Let them choose the colors (from your limited set).
- Let them name the columns if they want. “Not Yet”, “Working”, “Yes!” is totally fine.
- Use their interests for icons. If they love sports, use a tiny ball icon for “practice.” If they love animals, use animal stickers as categories.
- Make success visible. A full “Done” column is satisfying. That is the reward.
One important note: avoid turning the board into a scoreboard. It is a support tool, not a morality chart.
If they ignore it
Ignoring usually means the board is too complicated, too far away, or too adult-driven. Try these fixes in order.
Fix 1: Cut it to three tasks
Yes, three. If there are ten magnets in “To Do,” a younger child can see a wall of demands and mentally check out.
Put the rest in a small “Later” pile off the board. Add them back one at a time.
Fix 2: Make the first step tiny
If starting is the issue, create a micro-task magnet called “Open folder.” That is it. Once momentum starts, the rest is easier.
Fix 3: Add a “Choice” magnet
Some kids need a controlled choice to engage. Use a magnet that means: pick one of two tasks. You decide which two are acceptable.
Fix 4: Pair it with a short sprint
If attention is short, combine the board with a tiny work interval like 10 minutes, then a break. If your child likes a timer, you can borrow the basic rhythm from Pomodoro by learning style and keep it age-appropriate.
By age
Preschool and kindergarten
- Use icons only, no words required
- Use 1 to 3 tasks maximum
- Focus on routines: backpack, reading, one simple page
- Safety note: avoid small or high-powered magnets around toddlers. Use large, secured pieces and store extras out of reach.
Early elementary
- Use icons plus short words
- Use 3 to 5 tasks maximum
- Add the “Help needed” magnet
Upper elementary
- Let them write the task on a mini magnet or sticky note
- Add a “due tomorrow” cue
- Introduce a weekly view off to the side if needed
Middle school
- Switch to sticky notes or a small whiteboard grid
- Use subject colors and one priority highlight
- Keep the same To Do, Doing, Done flow
Common mistakes
- Mistake: The board is beautiful but lives in a low-traffic spot. Fix: Move it to the backpack path.
- Mistake: Too many categories and colors. Fix: Cap at 3 to 5 colors and 8 to 12 magnets.
- Mistake: The adult updates it alone. Fix: The child places magnets, even if you guide.
- Mistake: It becomes a punishment wall. Fix: Use it to clarify next steps, not to shame.
- Mistake: No plan for unfinished work. Fix: Add a “Tomorrow” parking spot off to the side.
Weekly refresh
Once a week, do a quick reset so the board stays trustworthy.
- Wipe the board clean.
- Retire magnets you never use.
- Add one new magnet if a new routine has appeared (library day, spelling test).
- Check that the color code still makes sense.
- Put the most common magnets in a “ready” row so setup is fast.
If your family likes routines that are easy to check off, you might enjoy building a study session you can check. The principle is the same: make the next step obvious and finishable.
Two homes and siblings
Shared custody or two households
If your child moves between homes, consistency beats perfection. Keep the same three columns and the same color meanings in both places, even if the boards look different. If that is not possible, take a quick photo of the “To Do” column before transitions so nothing disappears in the shuffle.
Multiple kids
For siblings, either give each child their own row or give each child their own magnet shape (circles for one child, squares for the other). The goal is to make “mine” obvious at a glance.
What this will not solve
A board can make homework clearer and calmer, but it cannot fix everything. If your child is consistently overwhelmed, refusing every day, or you suspect attention or learning challenges, this tool is still worth trying, but it may not be enough on its own. In that case, consider talking with your child’s teacher or a qualified professional for more targeted support.
FAQ
Should I use pictures from the internet for pictograms?
You can, but you do not have to. Simple marker icons are often better because they are consistent and easy to redraw. For younger kids, consistency beats artistic quality.
What if homework changes every day?
That is exactly when a magnet system shines. Keep a core set (read, math, worksheet, study, project) and swap in specifics verbally while the child moves the magnets. The board holds the structure even when the details change.
My child wants to play with the magnets. Is that bad?
Not automatically. For some kids, touching and moving pieces is part of how they engage. Set one rule: magnets only move during setup, during a check-in, or when a task is finished.
How do I handle long assignments?
Break them into two magnets: “Project start” and “Project finish,” or “Study 10 minutes” repeated twice. Smaller chunks create more wins, and wins create follow-through.
Keep it simple
If you try this and it feels clunky at first, that is normal. You are building a new habit loop, not crafting a museum exhibit.
Start with three magnets, three columns, and one daily reset. Once your child trusts that the board matches reality, you can add details.
And if you want to explore how different kids prefer different kinds of support, my broader guide to learning styles can help you spot what to lean into next.