
Whenever my brain starts to feel a little crispy from indoor routines, I take it as a sign to move learning outside. Kids get the same boost. A backyard session turns “science concepts” into things they can touch, measure, argue about (in a good way), and remember.
Below are five simple outdoor study sessions you can run in about 15 to 40 minutes. A couple work best as quick repeats across the week (like a 10-minute daily log), but none require fancy gear, just a curious kid and a grown-up willing to say, “Let’s test it.”
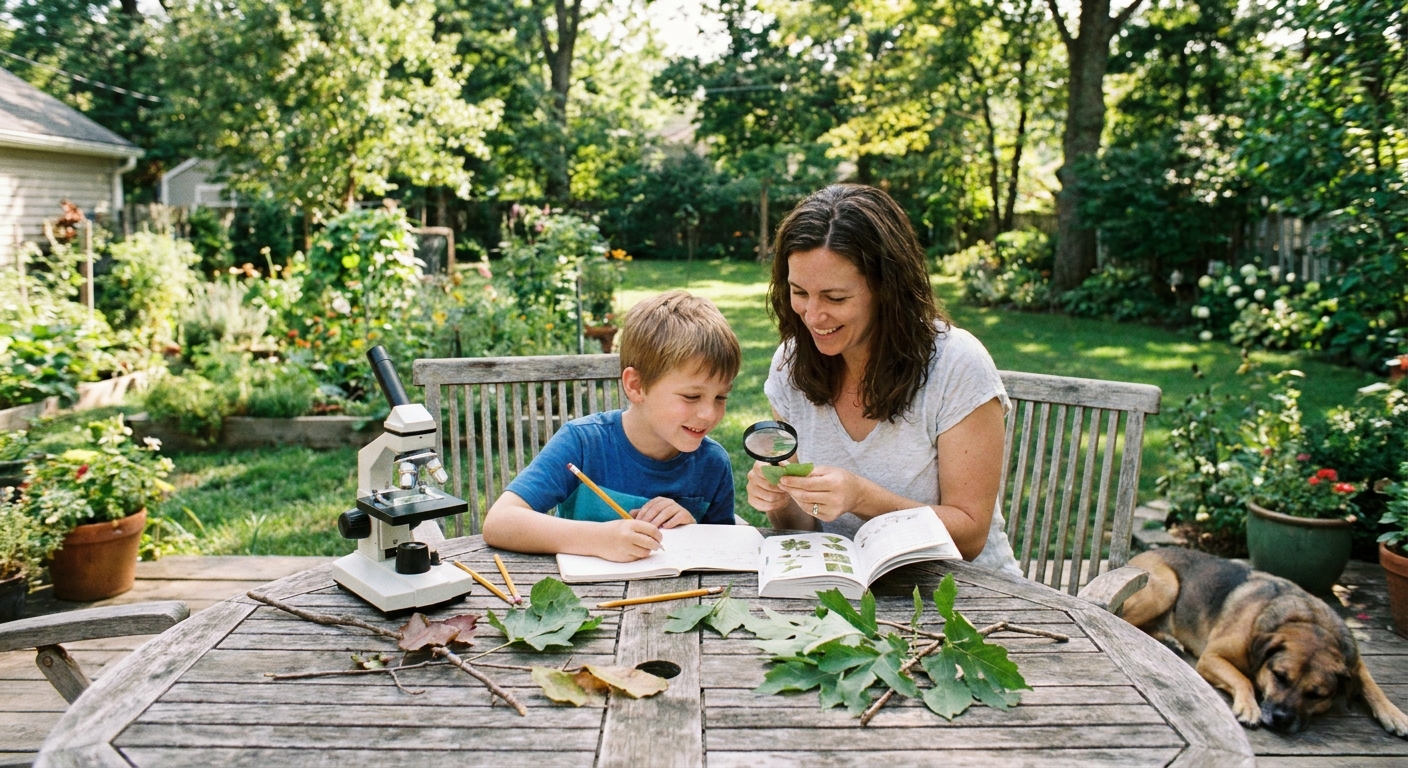
Before you start: a 5-minute setup
I love “spontaneous outdoor learning,” but I love it even more when nobody is wandering off mid-activity to hunt for a pencil.
Grab a quick science tote
- Clipboard or a hardback book to write on
- Pencil and colored pencils
- Measuring tape or ruler
- Magnifying glass (optional)
- Small containers like a muffin tin, egg carton, or jars
- Phone timer and camera (for quick documentation)
Quick safety and respect check
- Do a sunscreen, hat, and water check.
- If you are in a tick-prone area, do a quick tick check afterward.
- Wash hands after soil or animal-related activities.
- “Look, do not wreck”: replace rocks or logs where you found them, and stick to “take only what’s fallen” if you collect anything.
Set one boundary and one goal
- Boundary: “We stay between the fence and the porch.”
- Goal: “We are collecting evidence to answer one question.”
If your child struggles with settling into tasks, pairing this with a short transition routine helps. I like using one of the ideas from After-School Decompression: 4 Transitional Activities to Prepare Kids for Study Time before heading outside.
1) Nature scavenger hunt
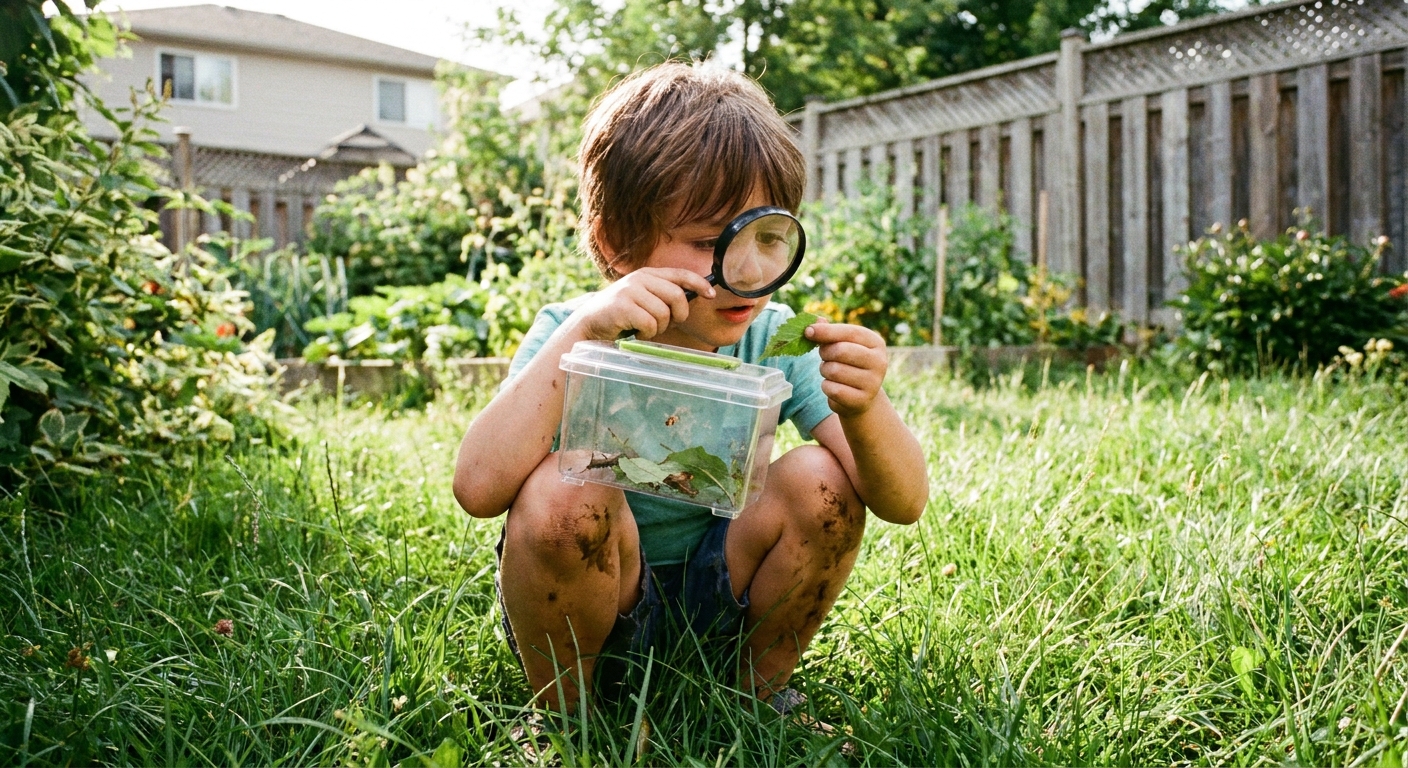
This is the easiest on-ramp to outdoor science because it feels like a game but quietly builds core skills: observing details, sorting by characteristics, and describing patterns.
What it teaches
- Living vs nonliving
- Plant parts and structures
- Classification by observable traits
- Habitat and microhabitats (under rocks, near mulch, by a tree trunk)
How to do it (15 to 25 minutes)
- Pick 6 to 10 prompts based on what you actually have outside. Examples: something rough, something smooth, two different seeds, one thing that used to be living, a sign of an animal, a leaf with veins you can see.
- Make it evidence-based. For each item, your child draws it or describes it with at least two adjectives. If they want to collect it, use a “take only what’s fallen” rule.
- Sort the findings. Ask: “How many ways can we group these?” Let them sort by color first, then push toward science traits like texture, material, living/nonliving, plant part, or human-made/natural.
Make it easier or harder
- Easier: Sort by color and size only.
- Harder: Create a simple chart with category headings and tally marks.
Try these questions
- “What details helped you decide where it belongs?”
- “What two items look similar but are actually different?”
- “If we came back after rain, what would change?”
Make it stick: End with a one-sentence summary your child says out loud. If your kid likes explaining things, a kid-friendly version of the Feynman approach works great. I break it down in Feynman Technique for Visual, Auditory, and Tactile Learners.
2) Weather station log
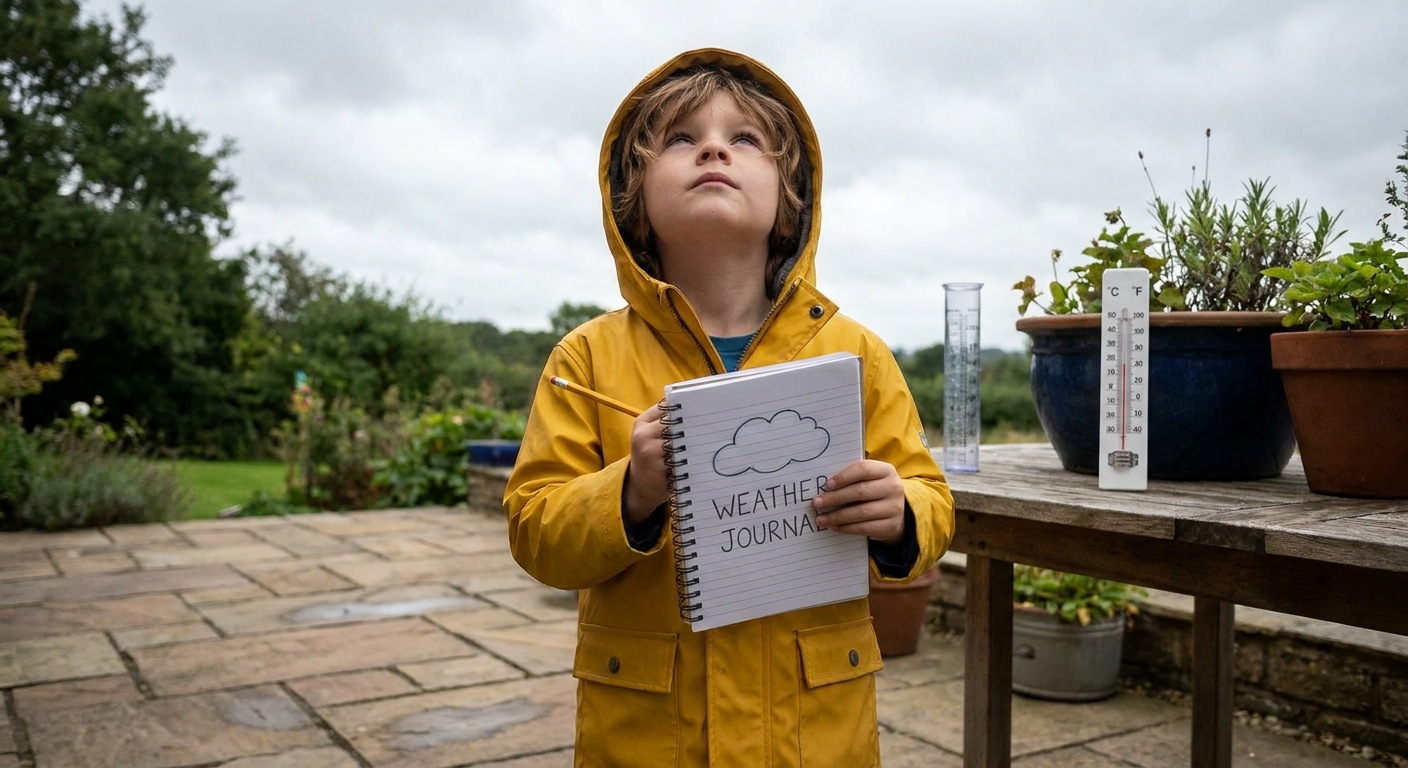
Elementary weather units can feel abstract until kids start noticing that the sky is basically giving clues all day long. A simple weather log turns your backyard into a tiny science station.
What it teaches
- Weather vs climate
- Measurement and units (temperature, wind direction, cloud cover)
- Patterns over time
- Cause-and-effect language (because, therefore, so)
How to do it (10 minutes a day for 7 days)
- Choose a daily time. Same time is key, even if it is just right after breakfast.
- Record four quick data points: temperature (app or outdoor thermometer), clouds (cover plus what they look like), wind (calm, breezy, gusty), and precipitation (none, drizzle, rain, snow).
- Add one “evidence note.” Example: “Leaves moving fast.” “Puddles drying.” “Air feels sticky.”
- At day 7, look for patterns. Which day was warmest? Did wind change before rain?
Optional: simple wind vane
Tape a paper arrow to a straw, then push the straw onto a pencil eraser so it can spin. Add a bigger paper triangle tail to the back end to help it align with the wind, and make sure the arrow is balanced so it does not sag. Place it in a cup of sand or soil. Mark N, S, E, W on the ground with chalk and observe the arrow direction.
Make it easier or harder
- Easier: Use icons only: sun, clouds, rain, wind.
- Harder: Make a simple line graph of temperatures or compute the week’s average temperature.
Study-plan tip: If you already use a weekly routine, slot “Weather Log” as a tiny recurring task. I love time-blocking for this because it feels automatic once it is on the schedule. See Time-Blocking Your Study Week for Better Retention.
3) Soil investigation
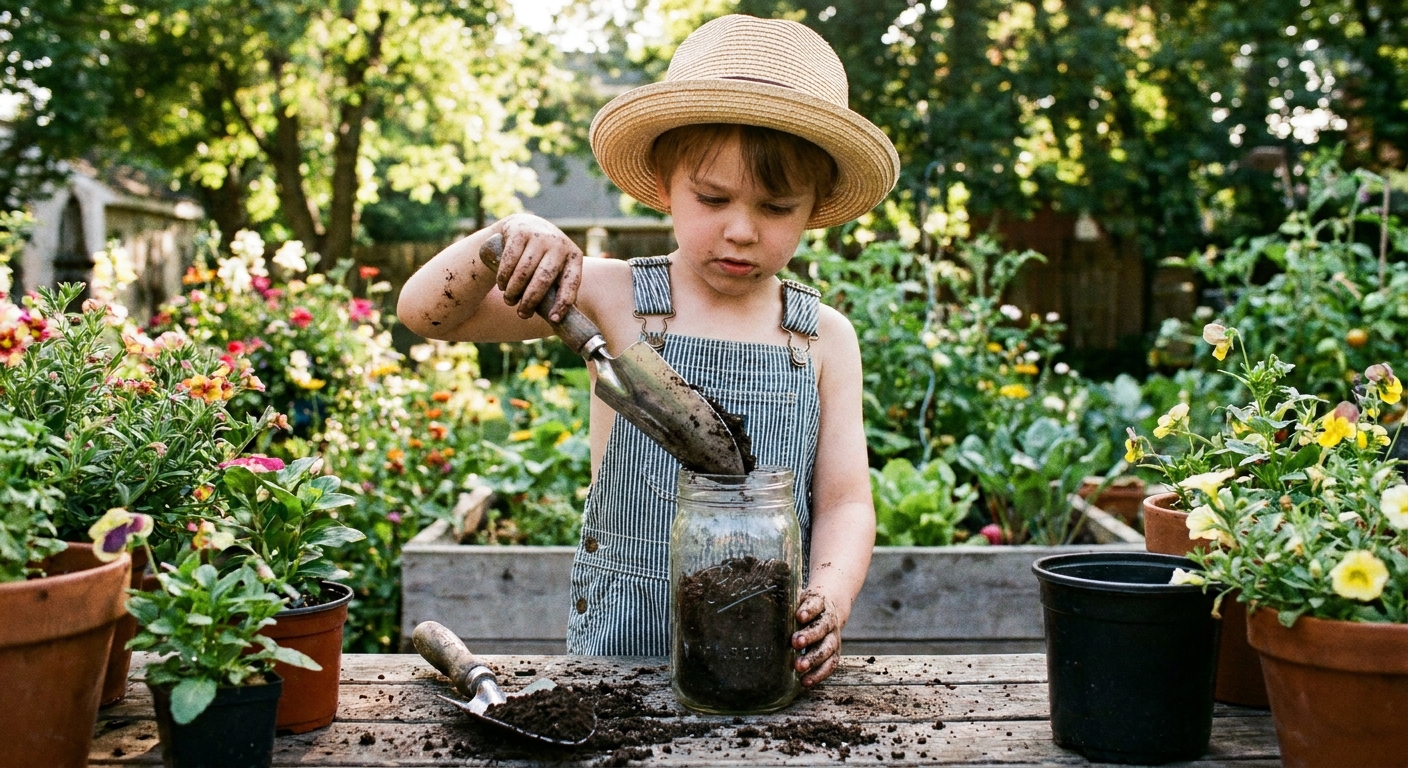
Soil is one of those topics that turns into a worksheet way too often. Outside, it becomes a mystery: What is it made of? What lives in it? Why does it feel different in different spots?
What it teaches
- Properties of materials (texture, color, particle size)
- Mixtures (sand, silt, clay, organic matter)
- Decomposition and nutrients
- Living organisms in soil (worms, insects, roots)
How to do it (25 to 40 minutes)
- Collect 2 to 3 soil samples from different areas (garden bed, under a tree, near a walkway). Use small cups.
- Do a texture test. Rub a pinch between fingers. Is it gritty? Smooth? Sticky?
- Jar shake test (classic and satisfying). Put soil in a clear jar, add water, shake hard, then let it settle. Typically, sand settles first, then silt, then clay. Check layers after 5 minutes and again after 30 minutes.
- Look for “living evidence.” Tiny roots, bugs, worm castings, bits of leaf litter.
Talk like a scientist
- Observation: “This sample is darker and clumps together.”
- Hypothesis: “I think it is darker because leaves decompose here.”
- Test: “Let’s compare it to the sunny spot.”
Make it easier or harder
- Easier: Compare just two spots: sunny vs shady.
- Harder: Estimate layer percentages in the jar and make a simple bar graph.
Low-stress extension: Have your child label the samples by location and predict which would be best for growing a plant and why.
4) Shadow and sunlight lab
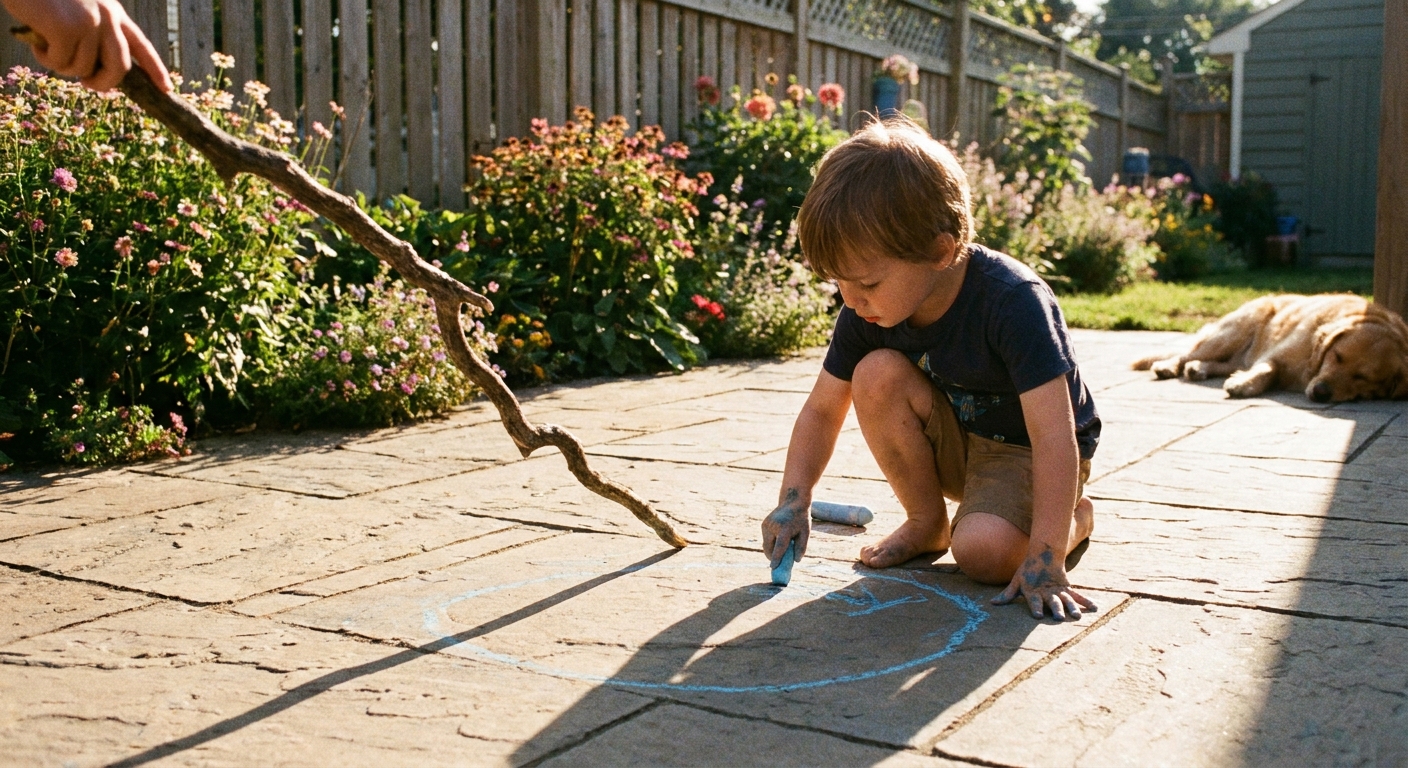
If you want a science activity that feels like magic but is actually Earth science, shadows are it. Kids can see evidence of Earth’s rotation by watching the Sun’s apparent motion change the shadow.
What it teaches
- Sun position changes over time
- Shadows form when light is blocked
- Timekeeping basics and measurement
- Energy from the sun (warming surfaces)
How to do it (about 20 minutes total, spread out)
- Place a stick upright in a patch of ground or a pot of soil.
- Trace the shadow tip with chalk or mark it with a pebble every 30 to 60 minutes.
- Measure each shadow length and record the time.
- Discuss what changed. Did the shadow move? Get longer or shorter?
Quick add-on: surface temperature check
Touch test only, no thermometers needed. Have your child compare grass, concrete, and mulch in sun vs shade. Ask which feels warmer and why. Safety first: on hot days, surfaces can get hot enough to hurt. Use the back of the hand for a quick tap, avoid the hottest part of the day, and skip it if anything feels too warm.
Make it easier or harder
- Easier: Do only two shadow marks: “now” and “later.”
- Harder: Graph shadow length over time and look for the shortest point.
If you want to keep attention steady: Break the waiting periods with short movement-based “brain breaks.” I keep a small list from 10 Kinesthetic Learning Activities for Homework Breaks for exactly this situation.
5) Pollinator watch
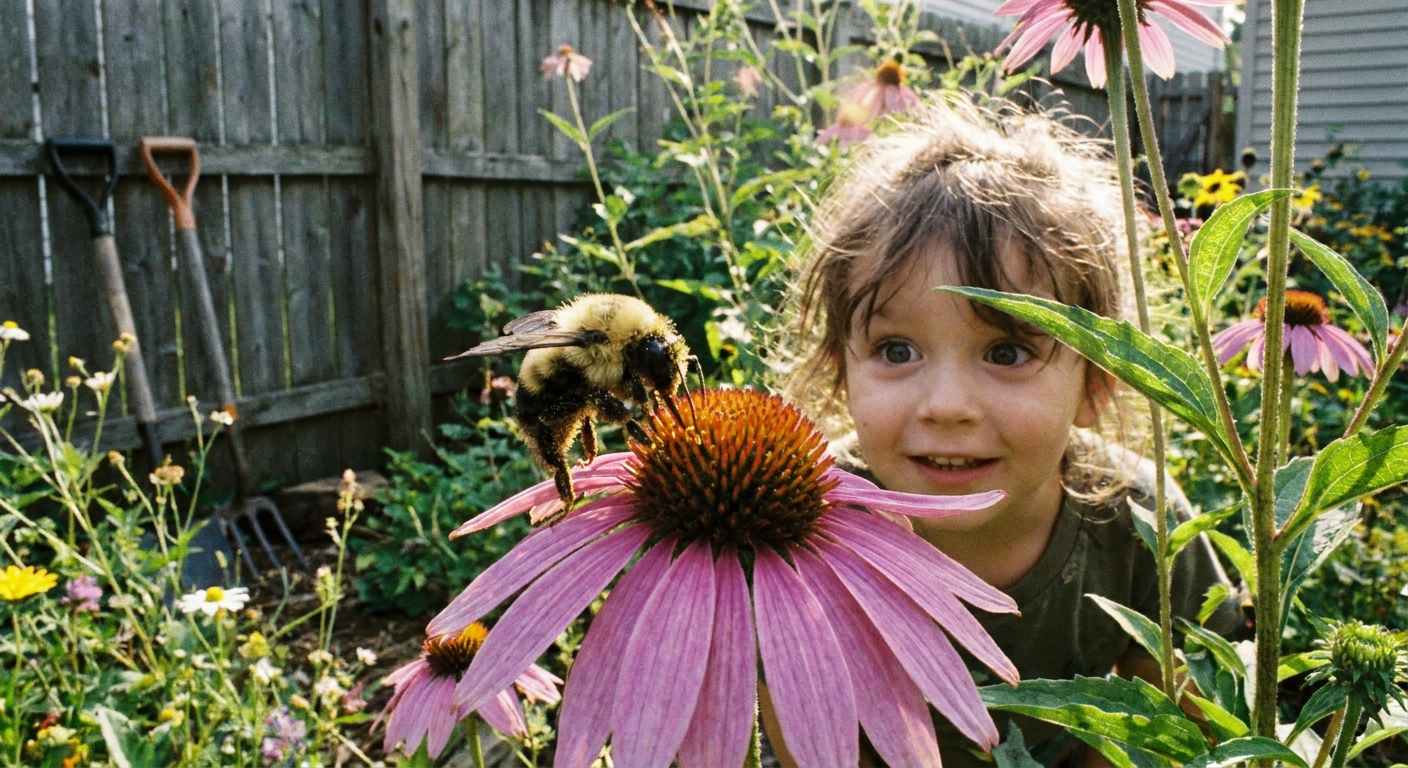
This one is quiet, focused, and honestly a little meditative. It is also packed with real biology: behaviors, structures, and how living systems depend on each other.
What it teaches
- Pollination basics
- Plant and animal relationships
- Life cycles and seasonal changes
- Simple data collection (tally marks)
How to do it (15 to 30 minutes)
- Pick one “observation patch.” A flowering plant, herb pot, clover patch, or even a weedy corner works.
- Set a timer for 5 minutes. Your child tallies each visitor: bee, butterfly, wasp, fly, beetle, “unknown.”
- Describe behaviors. Landing, hovering, crawling into the flower, moving flower to flower.
- Repeat later in the day. Compare morning vs afternoon activity.
Safety note
Observation beats interaction. We watch, we do not touch. If your child is nervous, observe from a few steps back and use the camera zoom for “close-ups.”
Make it easier or harder
- Easier: Tally only “pollinator” vs “no pollinator.”
- Harder: Make a bar graph of visitor types and compare time of day results.
Make it a mini-project: Keep a simple “Pollinator Diary” for two weeks and note which flowers get the most visitors. Kids love having a long-running investigation that builds over time.
Connect it to school
If you want these activities to feel like real “study time” (not just play time), add a tiny academic loop at the end. Think 3 minutes, not a full write-up.
- One claim: “The soil under the tree holds more water.”
- One evidence sentence: “It clumped and stayed wet longer than the sunny spot.”
- One next question: “Would plants grow better there?”
For kids who do better with structure, I like using a simple checkable routine, especially when we are bouncing between outdoor and indoor tasks. Build a Study Session You Can Check is a helpful way to keep it consistent without nagging.
When it gets wiggly
If your child starts sprinting instead of studying
- Do 2 minutes of movement on purpose, then restart with a timer.
- Switch to a “collector” role (find 3 objects) and then a “scientist” role (describe 3 details).
If siblings derail the activity
- Give each child a different job: measurer, recorder, photographer, collector.
- Use two short rounds instead of one long one.
If the weather is not cooperating
- Do the weather log anyway from a window, then head out for 5 minutes when it is safe.
- Turn the day into a comparison question: “How is the yard different after rain?”
If attention and focus are a recurring struggle, I keep a rotation of short focus games in my back pocket. This guide helps: Focus-Building Games: 8 Short Activities for Homework Attention.
Simple weekly rotation
If you want a no-brainpower schedule (my favorite kind), try this:
- Monday: Nature scavenger hunt
- Tuesday: Weather log (start and keep going daily)
- Wednesday: Soil investigation
- Thursday: Shadow and sunlight lab
- Friday: Pollinator watch
Keep each session short enough that your child ends thinking, “Can we do that again?” That feeling is the whole point. Science sticks when it feels like discovery, not like a performance.