

The first time I tried the Feynman Technique, I did it the “classic” way: blank paper, write the topic at the top, explain it like I was teaching a kid. It worked, but it also felt strangely tiring, like my brain was pushing a heavy couch across the room.
That is when it clicked for me: the Feynman Technique is not one method. It is a principle. If you can explain something clearly, you are much more likely to understand it. And if you cannot, you just found what to learn next.
Below is how I adapt the Feynman Technique for visual, auditory, and tactile thinkers, with specific scripts, setups, and “what to do when you get stuck” options for each. Think of these as learning preferences you can lean on, not fixed labels you are stuck with forever.
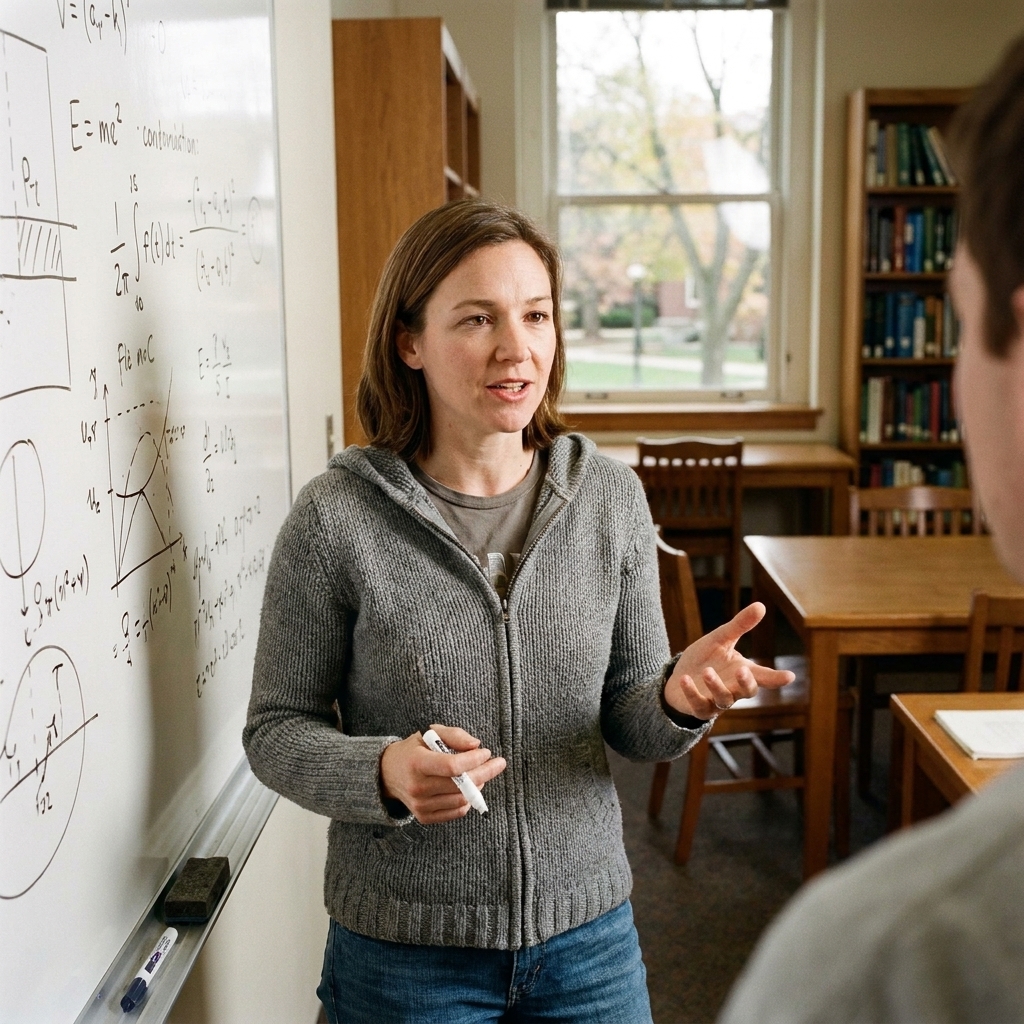
Quick refresher: Feynman in 4 moves
Here is the core loop, no matter your learning style:
- Pick a concept and name it clearly.
- Teach it simply as if your listener is smart but brand new to the topic.
- Find gaps where your explanation gets fuzzy, circular, or jargon-heavy.
- Go back, fix, and simplify, then teach it again.
The “tailoring” happens in the teaching step and the gap-finding step. Your job is to choose a teaching format that makes gaps obvious instead of hiding them.
If you want a bigger-picture overview of learning style traits, I keep an evergreen guide here: Learning styles guide.
Before you start: pick a target
Feynman works best when you teach to something specific, even if it is imaginary. Pick one:
- A 10-year-old (forces simplicity fast)
- A busy coworker (forces relevance and structure)
- Your future self (forces clarity without overperforming)
Now match the format to your learning preference below. You can absolutely be a blend, so feel free to mix methods.
Go back fast (so you do not get lost)
When you hit a gap, the goal is not “re-read everything.” It is “patch one hole, then re-teach.” My quick loop:
- Write the gap as a question: “Why does ___ cause ___?” or “What happens between ___ and ___?”
- Return to one tight source: one paragraph, one worked example, or one diagram, not the whole chapter.
- Answer in two sentences, then immediately teach the whole concept again in your chosen format.
This keeps you from turning Feynman into an accidental two-hour reread.
Visual thinkers: make it visible
If you think in pictures, patterns, or layouts, your “teach it simply” step should produce something you can glance at and instantly re-understand. For visual learners, the biggest risk with Feynman is writing paragraphs that look like notes instead of building a visual model.

Visual setup (10 minutes)
- Title box: Write the concept in a small box at the top.
- Three buckets: Draw three big sections labeled “What it is,” “How it works,” and “Why it matters.”
- One anchor sketch: Sketch a simple object or scene that represents the concept. Keep it messy and fast.
This is not about being artistic. It is about giving your brain a handle to grab.
How to teach visually
- Use arrows and causes: Every arrow should mean “this leads to that.” If you cannot explain what the arrow means in one short phrase, you found a gap.
- Limit yourself to 12 total words per bucket on the first pass. This forces you to choose the core.
- Convert jargon into a picture cue: For example, instead of “feedback loop,” draw a thermostat dial and a room.
My favorite visual trick is to pretend I am making a one-page “movie poster” for the idea. One title, one visual, three supporting lines. If I cannot do that, I do not understand it yet.
If planning your study time helps you stick with this, you may also like: Color-coded study schedule for visual learners.
Visual gap prompts
When your explanation stalls, ask:
- Where would I place this on the page if it truly belonged? If I do not know, it is probably unclear.
- What is missing between these two boxes? The “in-between” is usually the gap.
- Can I replace two sentences with one arrow and a label?
Mini example: photosynthesis
Anchor sketch: a leaf as a tiny kitchen.
- What it is: Plant makes sugar using light.
- How it works: Using light energy, CO2 and water become glucose and oxygen.
- Why it matters: Energy for plant, oxygen for us.
If you cannot clearly place where “chlorophyll” fits, that is a gap. You go back, learn that chlorophyll captures light energy, and then add it as the “solar panel” on your leaf-kitchen.
Auditory thinkers: say it out loud
If you process best through listening and speaking, the Feynman Technique becomes extremely powerful when you treat it like a tiny podcast episode you are recording for one person.
The common pitfall for auditory learners is thinking “it sounded smooth, so it must be correct.” Smooth can still be wrong. Your goal is to make the recording reveal fuzzy logic, not hide it.

Auditory setup (5 minutes)
- Open a voice memo app or any recorder.
- Set a timer for 2 minutes.
- Say: “I am going to explain this without using my notes.”
Two minutes is short on purpose. It forces structure.
Your 2-minute script
Use this spoken outline:
- One-sentence definition: “X is…”
- How it works: “First…, then…, because…”
- Real example: “For instance…”
- Quick check: “If you remember one thing, remember…”
Then listen back at normal speed (or 1.25x if you prefer) and notice where you:
- pause to search for words
- repeat yourself
- lean on vague phrases like “basically” or “it just”
Those are your gaps, neatly highlighted by your own voice.
Auditory gap fixes
- Jargon ban round: Record again, but you are not allowed to use the top 5 vocabulary words from your textbook. If you cannot explain without them, you do not own the idea yet.
- Listener questions: After you record, ask out loud: “What would someone interrupt me to ask right now?” Then answer it.
- Call-and-response: Say the claim, then force yourself to say the reason. “This happens. Because…”
If your explanation feels confident but you are not sure it is accurate, do one quick reality check: open a worked example or a practice problem and narrate how you would solve it step by step.
Mini example: supply and demand
One-sentence definition: “Supply and demand explains how price changes based on how much people want something and how much is available.”
How it works: “If demand goes up and supply stays the same, prices usually rise because more people compete for the same amount.”
Example: “Concert tickets when a band goes viral.”
One thing to remember: “Price is a signal that balances desire and availability.”
If your recording never explains why suppliers increase production later, that is your next study step.
Tactile thinkers: make it hands-on
If you learn by doing, moving, building, or physically manipulating information, the Feynman Technique can feel too abstract on paper. The fix is to turn your teaching step into a small action you can repeat.
Think: you are not writing an explanation. You are performing it.

Tactile setup (10 to 15 minutes)
Pick one tactile format:
- Index card build: One card per step or component.
- Object analogy: Use household objects to represent parts of a process.
- Whiteboard walk-through: Stand up and physically move through the sequence, pointing as you explain.
If you tend to procrastinate, standing up is a sneaky win. Movement lowers the “starting friction.” Even pacing while you explain counts.
How to teach with your hands
- Make the order non-negotiable: Lay cards left to right or top to bottom. If you cannot decide the order, you found a gap in the process.
- Force a rebuild: Shuffle the cards and rebuild the concept from scratch without notes. Your hands will expose what your brain skipped.
- Use a 60-second demo: Explain while you move the pieces. If you cannot finish in 60 seconds, simplify.
Tactile gap prompts
- Which step do I always avoid touching? That is probably the part I do not understand.
- What would happen if I remove this card or object? If I cannot predict the outcome, the dependency is unclear.
- Can I rebuild it correctly after a 2-minute break? If not, my understanding is fragile.
Mini example: the water cycle
Use four cards: evaporation, condensation, precipitation, collection. Add one coin labeled “sun energy.”
Teaching demo: move the coin to evaporation and say, “Sun energy causes water to evaporate.” Move to condensation: “Water vapor cools and forms clouds.” Keep moving.
If you struggle to explain why condensation happens, your next step is to learn the cooling and phase-change piece, then redo the demo.
If you are a mix: stack it
A lot of us are not purely visual, auditory, or tactile. When I am studying something dense, I stack formats so the same concept gets processed through more than one channel.
A simple 25-minute session
- 7 minutes visual: Make a one-page layout with the three buckets.
- 8 minutes auditory: Record a 2-minute explanation, then redo it once.
- 8 minutes tactile: Build 5 to 8 index cards and rebuild the sequence.
- 2 minutes: Write the one-sentence definition you want to remember.
If you like structured study blocks, you can use my checkable routine as a base and plug this in: Build a study session you can check off.
Common problems (and quick fixes)
“I can explain it, but I cannot solve problems.”
Your explanation might be descriptive, not operational. Add one more Feynman rule: teach the procedure. Explain how you would solve a specific problem step by step, including why each step is chosen.
“I get stuck and feel stupid.”
Getting stuck is the point. I reframe it as: your brain just handed you a map. When you hit a gap, write one of these:
- “I do not understand why ___ causes ___.”
- “I cannot define ___ without using ___.”
- “I do not know what happens between ___ and ___.”
That one sentence becomes your next micro-task.
“My explanation keeps getting longer.”
That usually means you are hiding behind detail. Add a constraint:
- Visual: 12-word limit per bucket.
- Auditory: 2-minute timer.
- Tactile: 8 cards maximum.
When not to use Feynman
I love Feynman, but it is not a universal tool. I skip it when:
- I have not done an initial pass yet: Feynman works best after you have some raw material from a reading, class, or video.
- The task is mostly a list: For pure memorization (dates, terms, steps) I first build meaning or categories, then I teach the structure.
- I am mistaking a clean story for proof: A smooth explanation is not the same as a correct one. I confirm with a definition, a diagram, or a few practice questions.
Make it a habit without burnout
I do not do Feynman for every page of every subject. I use it when I need durable understanding: exams, interviews, anything cumulative.
- Start small: one concept, one session, then stop.
- Use “good enough” language: clarity matters more than elegance.
- End with a checkpoint: a one-sentence definition and one example problem you can explain tomorrow.
If you want more building blocks like this, my two hub pages live here: Learning Styles and Study Skills.