

I used to make study plans that looked “organized” but somehow never got used. My calendar was packed with good intentions, my notes were a rainbow of random highlighter streaks, and by Wednesday I would be winging it again.
What finally worked for me was treating my schedule like a visual map, not a list. If you tend to think in pictures, patterns, or spatial cues (or you just like being able to scan a plan fast), a color-coded study schedule can turn your week into something you can recognize at a glance.

Why color-coding can help
Color-coding is not about making things cute. For a lot of people, it can reduce friction by making the next step more obvious.
- Faster pattern spotting: You may notice clusters, gaps, and overload more quickly.
- Easier switching: If each subject has a consistent color, your materials and schedule can match visually.
- Gentle prioritizing: You can reserve bold colors for high-focus tasks and softer ones for lighter review.
- Extra memory cues: Many students find visual cues help with recall, especially when your schedule, notes, and mind maps use the same palette.
If you want a bigger picture view of tailoring methods to how you process information, start with our learning styles guide.
Step 1: Pick a color system
The best color system is the one you will still be using next month. Keep it simple enough that it feels effortless.
Choose one system
- By subject: Math = blue, History = orange, Biology = green. This is the easiest for most students.
- By task type: Reading = yellow, practice problems = blue, writing = purple, review = green.
- By energy level: Deep focus = dark colors, light tasks = pastel colors, admin = gray.
My practical rule: cap it at 6
I have found that once you go past about 6 colors, your schedule stops being a quick visual scan and starts becoming a decoding exercise.
Make it accessible
If you are colorblind, you print in grayscale, or your colors are not always clear, pair each color with a consistent symbol in your planner:
- Circle = lectures
- Square = practice
- Triangle = writing
- Star = test prep
Draw the symbol in the corner of each block so the system still works when color is not doing all the work.
Step 2: Map your week at a glance
Before you add study tasks, map your week like a foundation layer. This is what stops the “perfect plan” from collapsing when real life happens.
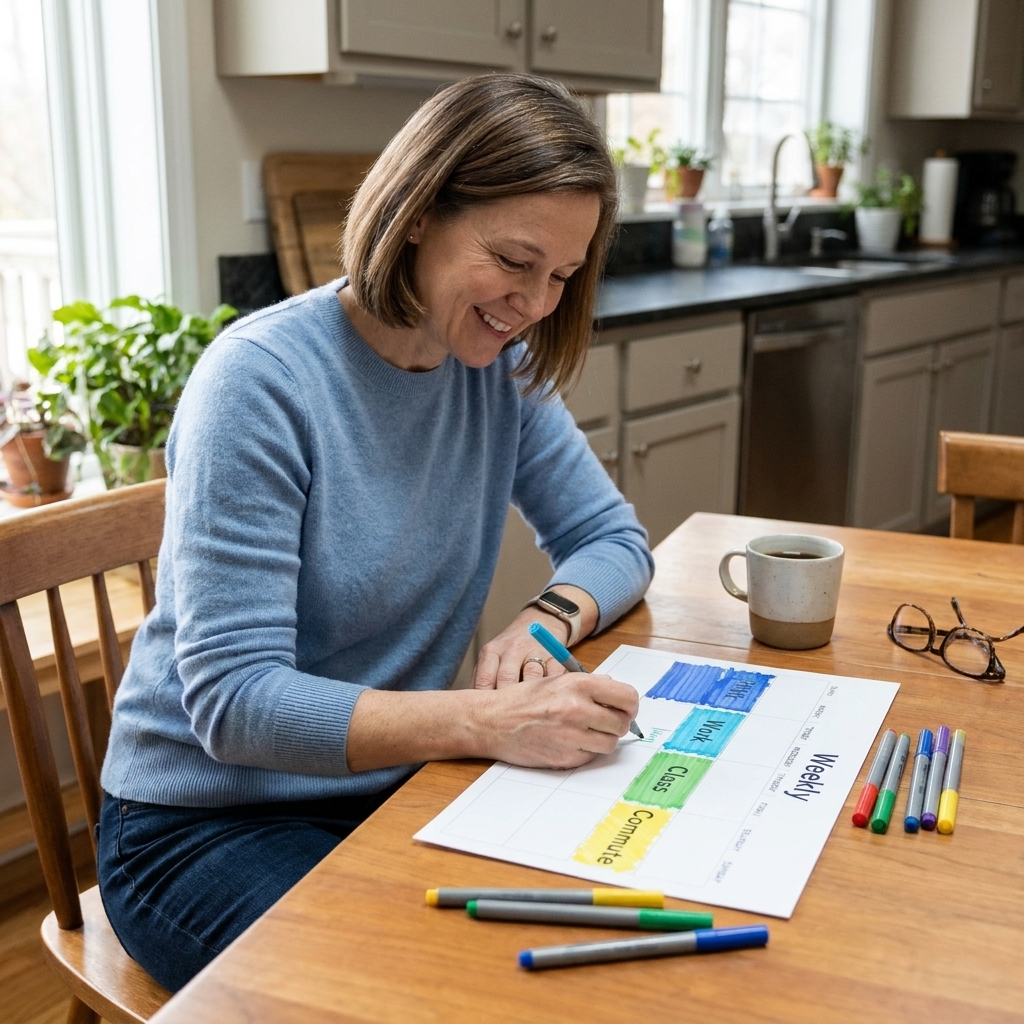
Start with fixed commitments
- Classes, labs, work shifts
- Commute time
- Standing responsibilities (childcare, appointments)
- Sleep and meals (yes, actually block these)
Add study anchors
Anchors are repeating, predictable study times that train your brain to expect focus.
- Example: Mon to Thu 7:30 to 8:15 pm = Study anchor
- Example: Sat 10:00 am to 12:00 pm = Weekly review
If your schedule is chaotic, use shorter anchors more often. A consistent 25 minutes beats an imaginary 3-hour session.
Add flex blocks
Flex blocks are your buffer for spillover and surprise tasks. I like one midweek and one on the weekend. Color them a neutral shade so they read as “available.”
For a simple structure you can reuse each time you sit down, see Build a Study Session You Can Check.
Step 3: Give each block one job
This is where most schedules fail. They say “Study Chemistry” and then you sit down and wonder what that means.
Instead, each block gets one clear output. Think: what will be different at the end of this session?
Examples of one-job blocks
- Biology (green): Create one mind map of the immune response from memory, then check notes.
- History (orange): Make a one-page timeline for the French Revolution and highlight causes vs effects.
- Math (blue): Do 12 practice problems, circle the 3 you missed, redo them tomorrow.
- English (purple): Draft the thesis and outline only, no polishing.
If you want more ideas like this, our study skills guide has practical methods you can plug into blocks.
Step 4: Rotate subjects without chaos
If you are taking more than one class (most of us are), the trick is to use your anchors consistently and rotate the subject color inside them.
Two easy rotation options
- One subject per anchor: Mon anchor = blue (Math), Tue anchor = green (Biology), Wed = orange (History), Thu = purple (English). Next week, rotate again based on what is due.
- Split the anchor: Two short blocks inside one anchor, like 25 minutes blue (Math) + 25 minutes green (Biology). This works well when you have daily homework in multiple classes.
I try not to split into more than two subjects in one sitting. Switching too often looks pretty on a calendar and feels awful in real life.
Step 5: Use mind maps
Mind maps work well for many visual thinkers because they show structure. They answer “how does this connect?” which is often the missing piece when you are trying to memorize disconnected facts.
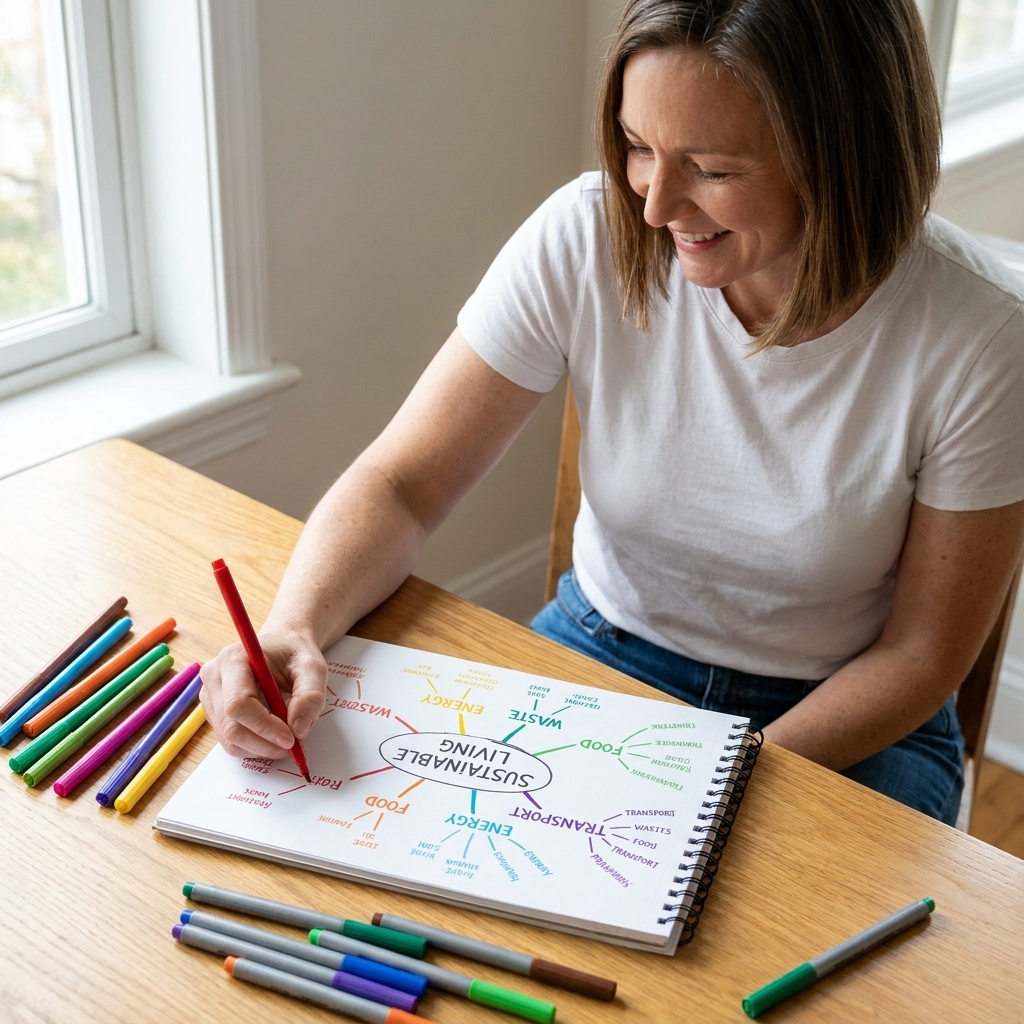
How I pair mind maps with a color-coded schedule
- Before a unit: A planning mind map to preview headings, subtopics, and likely test areas.
- During the week: Quick from-memory mind maps at the start of a session to reveal gaps.
- Before an exam: One master mind map per chapter, then smaller maps for weak spots.
Simple color rules for mind maps
- Use your subject color for main branches so it matches your timetable.
- Use a second color only for examples or definitions.
- Use a third color for “I do not get this yet” flags, and schedule those flags into your next flex block.
Step 6: Highlight less
I love highlighters, which is exactly why I had to create rules for myself. If everything is highlighted, nothing stands out.
A highlighting system that stays readable
- Yellow: key term or key claim
- Blue: process steps or sequence
- Pink: common mistake, exception, tricky detail
- Green: example that explains the concept
Keep it consistent across subjects, or you will spend mental energy remembering your own code.
A simple rule of thumb
A common guideline is to highlight no more than about 10 percent of a page. If you go over, stop and convert what you highlighted into a quick mind map or a short list. That turns “pretty notes” into usable review material.
Step 7: Match materials to colors
This is the “secret sauce” for visual learners and for anyone who likes quick cues: match the colors across your whole system.
- Folder or notebook cover matches the subject color
- Digital folder name starts with the same color cue (a colored square emoji can help scanning, optional)
- Flashcards have a colored corner mark
- Mind maps use the subject color for main branches
- Calendar blocks use the same subject color
When everything shares the same cues, you may spend less time orienting yourself and more time learning.
Digital planning tips
If you live in Google Calendar, Apple Calendar, Notion, or any other digital tool, the same idea applies.
- Create one calendar or category per subject (or per task type), then assign a consistent color.
- Name blocks the same way every time: “Math practice: 12 problems” is easier to follow than “Math”.
- Avoid tiny shade variations: Five blues look nice and read like stress. Pick one blue and commit.
Two schedules to copy
Option A: Busy week
Best when you have work, commuting, or unpredictable days. Use this as a pattern for one subject at a time, or run the same pattern for different subjects on different days.
- Mon: 25 minutes deep focus + 10 minutes recap (pick one subject color)
- Tue: 25 minutes practice problems (same subject or rotate)
- Wed: Flex block (catch-up or hardest topic)
- Thu: 25 minutes mind map from memory
- Fri: Off or light review only
- Sat: 90 minutes focused session (two subjects max)
- Sun: 30 minutes weekly reset and planning
Option B: Exam in 2 weeks
Best when you need intensity without chaos. Choose a block length you can repeat, like 25, 35, or 45 minutes.
- Daily: 1 block content review, 1 block practice, 1 block corrections
- Every other day: 10 minute mind map from memory before practice
- Twice per week: timed quiz block in a bold color
- Weekend: longer mixed review session that alternates subjects by color
Example week (mini)
If you like seeing it filled in, here is a simple example using subject colors.
- Blue (Math): Mon 7:30 pm practice set, Thu 7:30 pm corrections
- Green (Biology): Tue 7:30 pm mind map and self-quiz, Sat 10:00 am chapter review
- Orange (History): Wed 7:30 pm timeline and essay plan, Sun 4:00 pm flash review
- Gray (Flex): Fri 6:00 pm recovery block
It is not fancy, but it is readable, and that is the point.
Anti-burnout rules
I am very pro planning, but I am even more pro a plan that does not make you hate studying. These rules keep your visual schedule supportive, not stressful.
- Leave white space. If your calendar is solid color blocks, you will rebel against it.
- Use one rest color. A calm neutral block that means walk, shower, snack, breathe.
- Default to smaller blocks. If you finish early, you get a win. If you run long, you still have a boundary.
- Review the plan twice a week. Quick adjustments beat guilt spirals.
Troubleshooting
I spend more time color-coding than studying
Set a timer for planning. Ten minutes is plenty. If you want extra decoration, save it for a weekly reset when you are not under pressure.
My schedule looks great, but I still procrastinate
Make the first block ridiculously easy. The goal is to start, not to impress yourself.
- Open notes and write a 3-bullet summary
- Draw a tiny mind map with only 5 branches
- Do 3 practice problems only
Momentum helps because once you can see progress, it is easier to keep going.
I fall behind and then the colors make me feel worse
Rename your flex blocks recovery blocks and schedule one automatically. Falling behind is normal. The system should absorb it.
A quick weekly reset
This is my favorite habit because it keeps the whole system from drifting.
- Look back: Which colors got ignored?
- Pick 3 priorities: Choose three blocks that matter most this week.
- Move, do not delete: Reschedule unfinished blocks into recovery time.
- Prep visuals: Put the right notebook, tabs, or markers where you will see them.

Next step
Color-coding is powerful, but it works best when it supports your bigger learning preferences and your real life constraints. If you are still experimenting, spend a little time with the learning styles guide and borrow the parts that feel natural to you.
Your schedule does not need to be perfect. It needs to be readable, repeatable, and kind enough that you will come back to it tomorrow.