

When I was a kid, spelling practice usually meant a pencil, a list, and a sinking feeling. Now that I spend my time testing study routines, I can tell you this: for a lot of kids, spelling can click faster when their hands are involved.
Tactile spelling activities are not just "cute sensory play." They give kids more than one way to practice the same word: movement, texture, and repetition. If your child melts down over worksheets or rushes through writing, these activities can turn sight words into something they can actually feel.
Why tactile spelling helps
Sight words are tricky because many of them do not follow easy phonics patterns (think: said, could, one). Kids often need repeated exposure until the word becomes instant and automatic. These same activities can also help with any high-frequency or "tricky" words your child keeps missing, even if they are not on an official list.
Tactile practice helps because it:
- Slows the process down in a good way, so kids notice letter order.
- Adds movement cues, which can support recall later when they write on paper.
- Reduces pressure. A mistake in shaving cream feels lower-stakes than a mistake on a worksheet.
- Supports tactile and kinesthetic learners who focus better while moving and touching.
If you want to pair this with a broader understanding of learning preferences, I keep a kid-friendly overview in our learning styles guide. And for more hands-on ideas like this, the hub page Learning Activities for Kids is a great place to browse.
Quick setup: a 3-minute station
You do not need a craft room. You need boundaries.
What I set up before we start
- A tray or rimmed baking sheet to define the workspace (especially for sand or salt).
- A damp washcloth for hands.
- A dry towel for quick drying.
- Two to five sight words only. More than that usually turns into fatigue, not mastery.
- A model of each word (index card, sticky note, or you write it once on a whiteboard).
My simplest rules
- Hands stay on the tray/table.
- One word at a time.
- When we finish a word, we clear it and reset.
In my house, those tiny rules prevent most of the chaos.
Quick tip: After a word feels solid in the sensory material, have your child write it once on paper (a sticky note counts). It is a simple bridge to classroom expectations.
Activity 1: Sand tray spelling
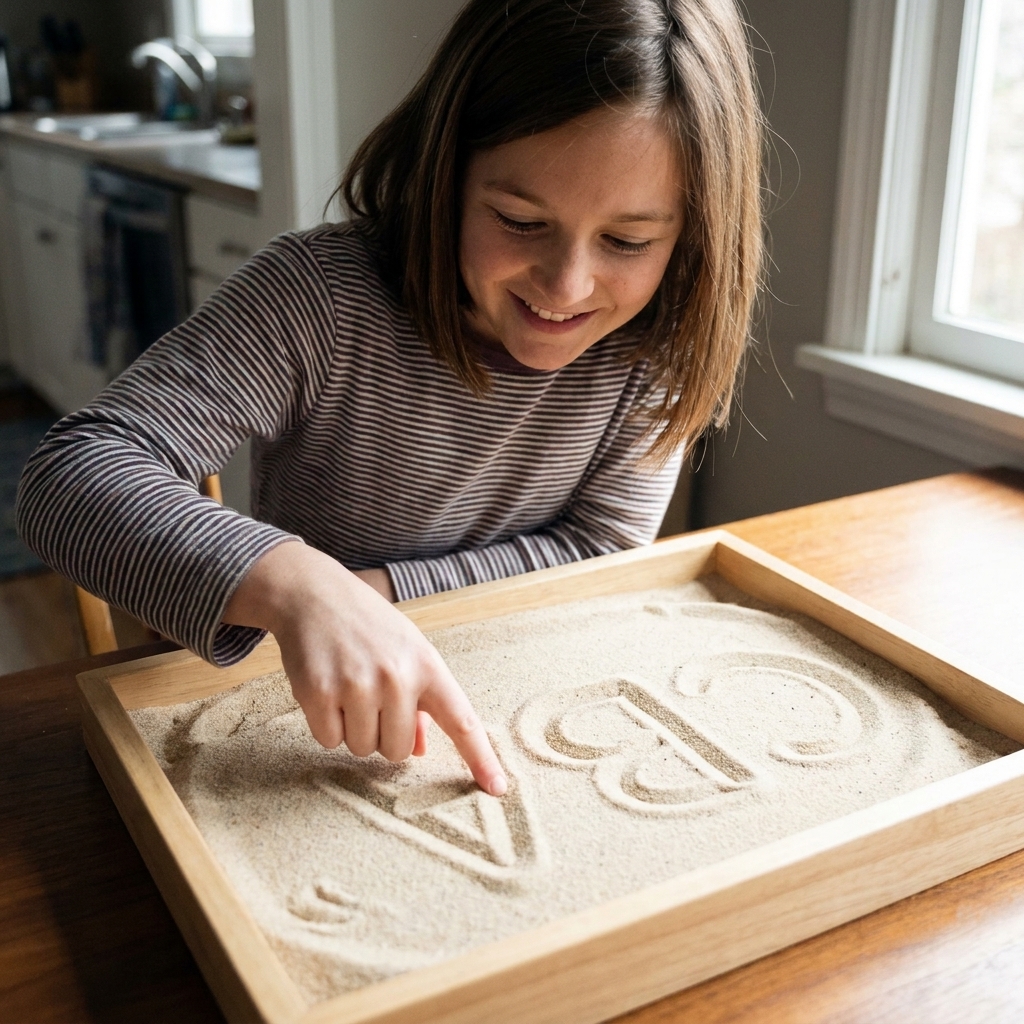
This is one of the calmest tactile options. The resistance of sand slows kids down and makes letter shapes more deliberate.
What you need
- A shallow tray or baking sheet
- Sand (or fine salt, sugar, or uncooked rice)
- Optional: paintbrush, popsicle stick, or the eraser end of a pencil
How to do it
- Show the word on a card. Say it once.
- Air-write the word together using a big arm movement (quick, 3 to 5 seconds).
- Trace each letter in the sand while saying the letters quietly.
- Read the whole word after writing it.
- Reset by shaking the tray gently or smoothing it with a flat hand.
Make it a game
- Secret word: You write a sight word in the tray, they guess it.
- Beat the timer: One minute to correctly write the same word three times (accuracy first).
- Letter detective: Call out “Find the tricky part” and have them circle the part that causes mistakes (like ai in said, ould in could/would, or o in one).
Parent-friendly cleanup
Keep a small handheld vacuum or dustpan nearby and do a 30-second reset after the session. If sand is too much, fine salt in a tray is surprisingly tidy.
Activity 2: Play-Doh spelling
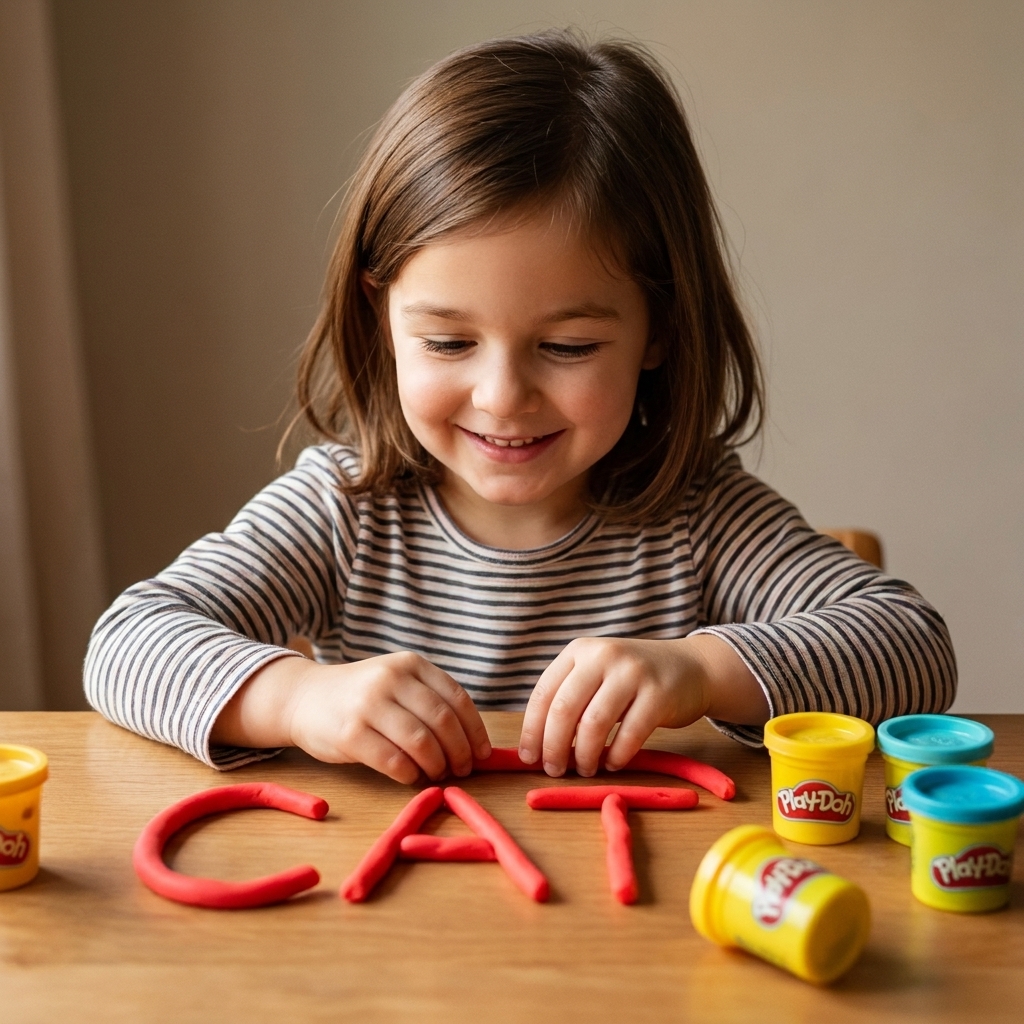
Play-Doh is great for kids who want more resistance and more movement. It is also an easy way to practice letter formation without gripping a pencil.
What you need
- Play-Doh (or any soft modeling dough)
- Optional: plastic knife, rolling pin, cookie cutters, alphabet stamps
3 ways to use Play-Doh
1) Roll-and-build letters
- Roll dough into “snakes.”
- Shape each letter slowly.
- Tap each letter as you spell aloud.
2) Stamp and trace
- Flatten a slab of dough.
- Use letter stamps (or press letter shapes yourself).
- Trace over each stamped letter with a finger to reinforce the shape.
3) Slice-and-spell
- Roll dough into a thick log.
- Slice coins.
- Write one letter per coin using a toothpick or the dull end of a pencil.
- Mix the coins up, then rebuild the word in order.
Common frustration and an easy fix
If your child struggles with letter shapes (b/d reversals, wobbly curves), do fewer words and more repeats. I would rather see one sight word built five correct times than five sight words built once with errors.
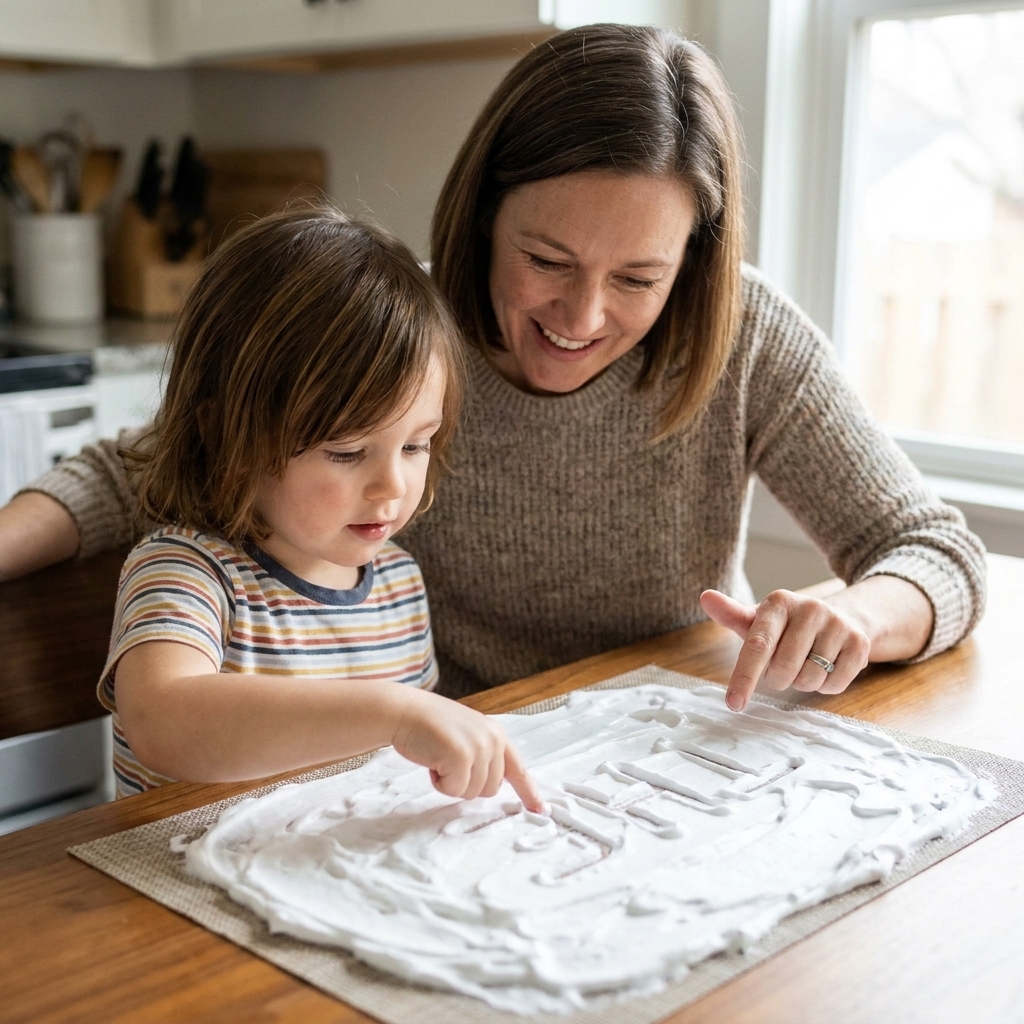
Activity 3: Shaving cream spelling
This is the messy classic, and for many kids it is a high-success option. The smooth texture gives immediate feedback, and plenty of kids stay with it longer than they do with pencil work.
Important: Use a small amount and supervise closely. If your child is sensitive to fragrances or aerosols (including some kids with asthma), choose a fragrance-free, non-aerosol option or skip this activity.
What you need
- Foam shaving cream
- A wipeable surface (table, countertop, or a plastic placemat)
- Washcloth and towel
How to do it without a snowstorm
- Spray a golf-ball sized amount onto the surface.
- Spread it into a thin layer with flat hands.
- Write one word using one finger.
- Read it together, then “erase” by smoothing the cream flat again.
- Finish by wiping hands first, then wiping the surface.
Prompts that boost learning
- “Say it, spell it, read it.” (word out loud, letters out loud, word out loud)
- “Fix the tricky spot.” You intentionally misspell one letter, they correct it.
- “Cover and write.” Show the word, then cover it and have them write from memory.
If your child loves the physical part but needs structure, you may also like the way we break work into short bursts in Pomodoro by learning style. You can absolutely use a kid-sized Pomodoro here, like 5 minutes of writing and 2 minutes of cleanup and reset.
Choose words and build progress
Start with a tiny list
Pick 2 to 5 sight words that show up constantly in your child’s reading. The goal is automatic recognition, not a huge weekly list that never sticks.
Use a simple rotation
- Day 1: Model and copy (they look at the word while writing it)
- Day 2: Copy once, then write from memory
- Day 3: Write from memory only, then use the word in a spoken sentence
Watch for “almost right” errors
Tactile activities can hide spelling errors because kids get excited and move fast. Before you celebrate, do a quick check:
- Right letters?
- Right order?
- Any missing letter?
- Any reversed letter?
Troubleshooting
“My child just plays and won’t spell.”
Use the rule: spell first, play second. One correct word earns 30 seconds of free sensory play.
“My child refuses because it feels babyish.”
Try switching the tool: use a paintbrush in the shaving cream, a stylus in the sand, or a toothpick in Play-Doh. Sometimes “grown-up tools” change the vibe instantly.
“They get mad when they make a mistake.”
This is where tactile practice shines. Normalize quick resets: “Mistakes wipe away. Let’s smooth it and try again.” If perfectionism shows up often, you might relate to the patterns I talk about in study planning too, and the reset mindset in how to get your study plan back on track after falling behind translates surprisingly well to kids.
“Sensory materials cause meltdowns.”
Some kids are sensory-seeking, and some are sensory-avoidant. If shaving cream is too much, start with a dry option like rice or a “no residue” option like writing on a tray with a fingertip dipped in water, then gradually build tolerance.
When spelling still is not sticking
If spelling progress stalls for weeks, or letter reversals and confusion feel intense for your child’s age, it can be worth asking their teacher, reading specialist, or pediatrician what support makes sense. This is not a diagnosis, just a gentle nudge: the earlier you get targeted help, the less frustrating spelling becomes.
A simple 10-minute routine
If you want something you can repeat without thinking too hard, here is my favorite structure:
- 1 minute: Choose 3 sight words.
- 2 minutes: Sand tray, copy each word once.
- 4 minutes: Shaving cream, write each word from memory.
- 2 minutes: Play-Doh, build the hardest word one time correctly.
- 1 minute: Quick cleanup together.
Short, varied, and very doable on a weekday.
Safety and cleanup
- Supervise closely, especially with younger kids who may taste sensory materials.
- Avoid aerosols if scent or airborne products trigger headaches or breathing issues. A pump foam or fragrance-free option can be easier for some families.
- Protect clothing with an old T-shirt or apron for Play-Doh colors that can transfer.
- Check skin after shaving cream use and stop if irritation appears.
The goal is not to create a Pinterest moment. The goal is a child who thinks, “I can do this,” and then actually remembers the word tomorrow.
FAQ
What age is this best for?
Most kids can do simplified versions from preschool through early elementary. Older kids who struggle with spelling can still benefit, especially from sand trays and “cover and write” practice.
How many times should they write each sight word?
A good starting point is 3 correct repetitions in one session. If the word is still shaky the next day, repeat it again rather than adding new words.
Can this replace pencil-and-paper practice?
It can reduce the load, but I like it best as a bridge. Once a word is solid in sensory materials, do one quick paper transfer like writing it once on a sticky note or using it in a short sentence.